I have always wanted a dedicated space for my videos that are not necessarily meant to be shared. Even though I have stored them locally, I also wanted the convenience of accessing it from anywhere. That led me to self-hosting, with PeerTube chosen as a platform to host my videos. I also thought it could be a chance to learn new things.
Preparing the hardware
I brought a gifted Raspberry Pi 4 and paired it with a five-terabyte external hard drive. A USB hub with an external power supply for the storage was also considered, but I later decided not to use it. I knew I was in need of a serious upgrade to have a decent video streaming website, but I nevertheless decided to try it out.
Preparing the operating system
Problem with Raspberry Pi OS (and Debian)
As of the time of writing, the current version of Debian is 12 “bookworm”. I followed the steps below with Raspberry Pi OS, which is based on the current version of Debian, but later faced a problem where the version of Podman was not high enough to support Quadlet. I needed at least 4.4, and while there was a third-party repository for recent versions of the software, It was only available for the x86_64 variant. Nix was also considered, but I found its learning curve to be too steep. After trying to partially use repositories for Debian 13 “trixie” without success, I went back to square one.
Note on using Ubuntu 24.04
Later in this post, I found out that at least Podman 5.0 is needed for my needs, which Ubuntu 24.04 does not offer, and I had to do a release upgrade. If anyone is trying to follow the steps I took, please use a distribution which offers Podman with versions 5.0 or above.
Setting up Ubuntu
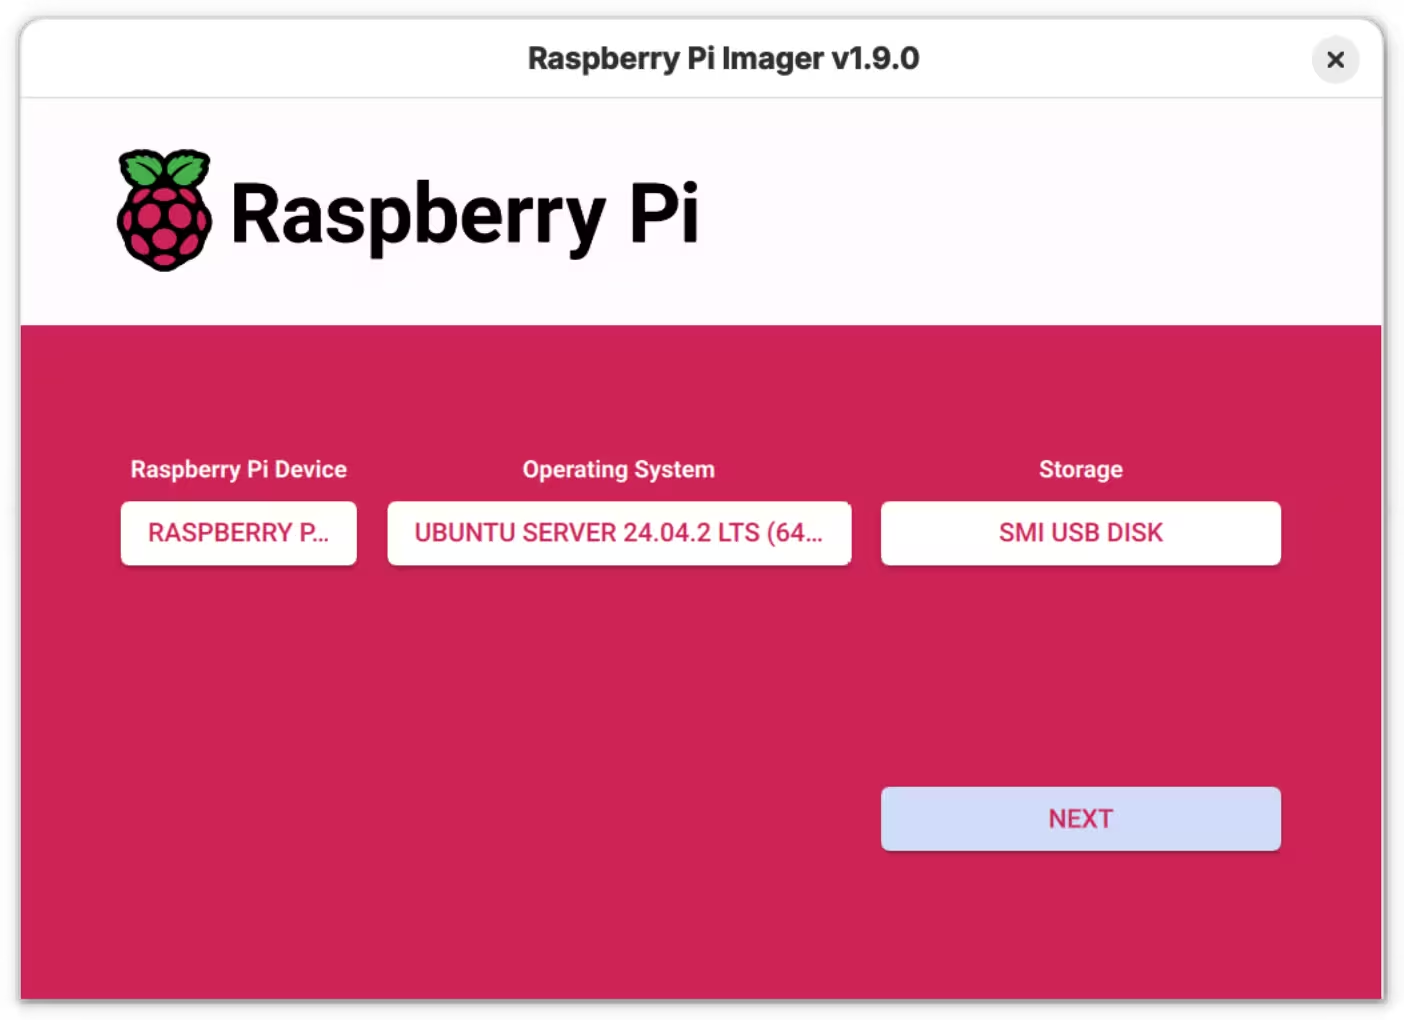
I decided to wipe everything and start afresh with Ubuntu Server 24.04. I opened Raspberry Pi Imager to write a fresh installation.
I switched the device on and connected to it via SSH.
[lyuk98@framework ~]$ ssh pi@raspberrypi.local
When the connection was successful, I first updated the system.
pi@raspberrypi:~$ sudo apt update
pi@raspberrypi:~$ sudo apt upgrade
pi@raspberrypi:~$ sudo systemctl reboot
Relocating /home
To allow a greater amount of storage for containers, I relocated /home to the external storage. I formatted the existing partition with Btrfs for transparent compression.
[lyuk98@framework ~]$ sudo mkfs.btrfs -f /dev/sdb1
After the storage was ready, everything was copied from the existing home directory.
pi@raspberrypi:~$ sudo mount /dev/sda1 /mnt
pi@raspberrypi:~$ sudo cp -rp /home/* /mnt
I then edited /etc/fstab to add the new mount point, followed by a reboot.
pi@raspberrypi:~$ sudoedit /etc/fstab
pi@raspberrypi:~$ tail -1 /etc/fstab
/dev/sda1 /home btrfs defaults,rw,compress=zstd 0 0
pi@raspberrypi:~$ sudo systemctl reboot
Setting up Tailscale
Using an external service like Tailscale for a fully self-hosted application initially did not make sense to me, but I was later amazed by its potential. I could achieve the convenience of accessing the service from anywhere, while still keeping my devices off of the internet.
First, Tailscale’s repository was downloaded.
pi@raspberrypi:~$ curl -fsSL https://pkgs.tailscale.com/stable/ubuntu/noble.noarmor.gpg | sudo tee /usr/share/keyrings/tailscale-archive-keyring.gpg > /dev/null
pi@raspberrypi:~$ curl -fsSL https://pkgs.tailscale.com/stable/ubuntu/noble.tailscale-keyring.list | sudo tee /etc/apt/sources.list.d/tailscale.list
Tailscale was then installed and started, with an SSH server running.
pi@raspberrypi:~$ sudo apt update
pi@raspberrypi:~$ sudo apt install tailscale
pi@raspberrypi:~$ sudo tailscale up --ssh
I wondered if the key should be placed in /etc/apt/keyrings instead, but I noticed that installing tailscale also installs its dependency tailscale-archive-keyring, effectively taking over what was manually downloaded.
Tailscale was also set up on my personal computer.
[lyuk98@framework ~]$ sudo pacman -S tailscale
[lyuk98@framework ~]$ sudo systemctl enable --now tailscaled.service
[lyuk98@framework ~]$ sudo tailscale up
With both devices up, SSH connections could now be made via tailnet. Since it is not needed to open any ports, I set up Uncomplicated Firewall to block all incoming traffic. I, however, did allow SSH connections from local network just in case.
pi@raspberrypi:~$ sudo ufw enable
pi@raspberrypi:~$ sudo ufw default allow outgoing
pi@raspberrypi:~$ sudo ufw default deny incoming
pi@raspberrypi:~$ sudo ufw limit from 192.168.0.0/16 to any app OpenSSH
Adding tags and editing access rules
The default access control policy was enough for simply accessing Raspberry Pi via SSH, but I had to make some changes to accommodate web servers. Having no expiration date by default, I intended to use OAuth clients for deployed containers instead of auth keys. Using an OAuth client for my purpose required auth_keys scope to be defined and one or more tags to be assigned to it, however, so I edited the access control rules to do so.
I first declared some tags with their owners. They were to be used by respective services later on.
{
    // ...

    // Define the tags which can be applied to devices and by which users.
    "tagOwners": {
        "tag:caddy":     ["autogroup:admin"],
        "tag:ci":        ["autogroup:admin"],
        "tag:peertube":  ["autogroup:admin"],
        "tag:webserver": ["autogroup:admin"],
    },

    // ...
}
On top of new tags, several rules for Tailscale SSH were also defined.
{
    // ...

    // Define users and devices that can use Tailscale SSH.
    "ssh": [
        // Allow all users to SSH into their own devices in check mode.
        // Comment this section out if you want to define specific restrictions.
        {
            "action": "check",
            "src":    ["autogroup:member"],
            "dst":    ["autogroup:self"],
            "users":  ["autogroup:nonroot", "root"],
        },
        // Allow administrators to access web servers in check mode.
        // Both privileged and unprivileged users are accessible.
        {
            "action": "check",
            "src":    ["autogroup:admin"],
            "dst":    ["tag:webserver"],
            "users":  ["autogroup:nonroot", "root"],
        },
        // Allow CI/CD pipeline to access web servers.
        // Only non-root users are accessible.
        {
            "action": "accept",
            "src":    ["tag:ci"],
            "dst":    ["tag:webserver"],
            "users":  ["autogroup:nonroot"],
        },
    ],


    // ...
}
With the tags in place, I tagged the Raspberry Pi as a web server by running tailscale up once more with an extra option. It was later to be accessed by runners for GitHub Actions with the tag tag:ci.
pi@raspberrypi:~$ sudo tailscale up --advertise-tags tag:webserver --ssh
Setting up reverse proxy with Caddy
I wished to use my custom domain to access my PeerTube instance, but even after some time of searching, I could not fully understand how I can get HTTPS certificates for the domain. I then came across Caddy, which was mentioned at Tailscale’s own video on how to achieve exactly what I wanted to do.
Updating DNS records
To enable HTTPS with Caddy, I had to enable API access from the domain registrar as the aforementioned video implied. I own my domain in Namecheap, but while I can do so from there, I had to whitelist IP addresses of who can access the API. It was not an option for me, so I looked for alternative solutions.
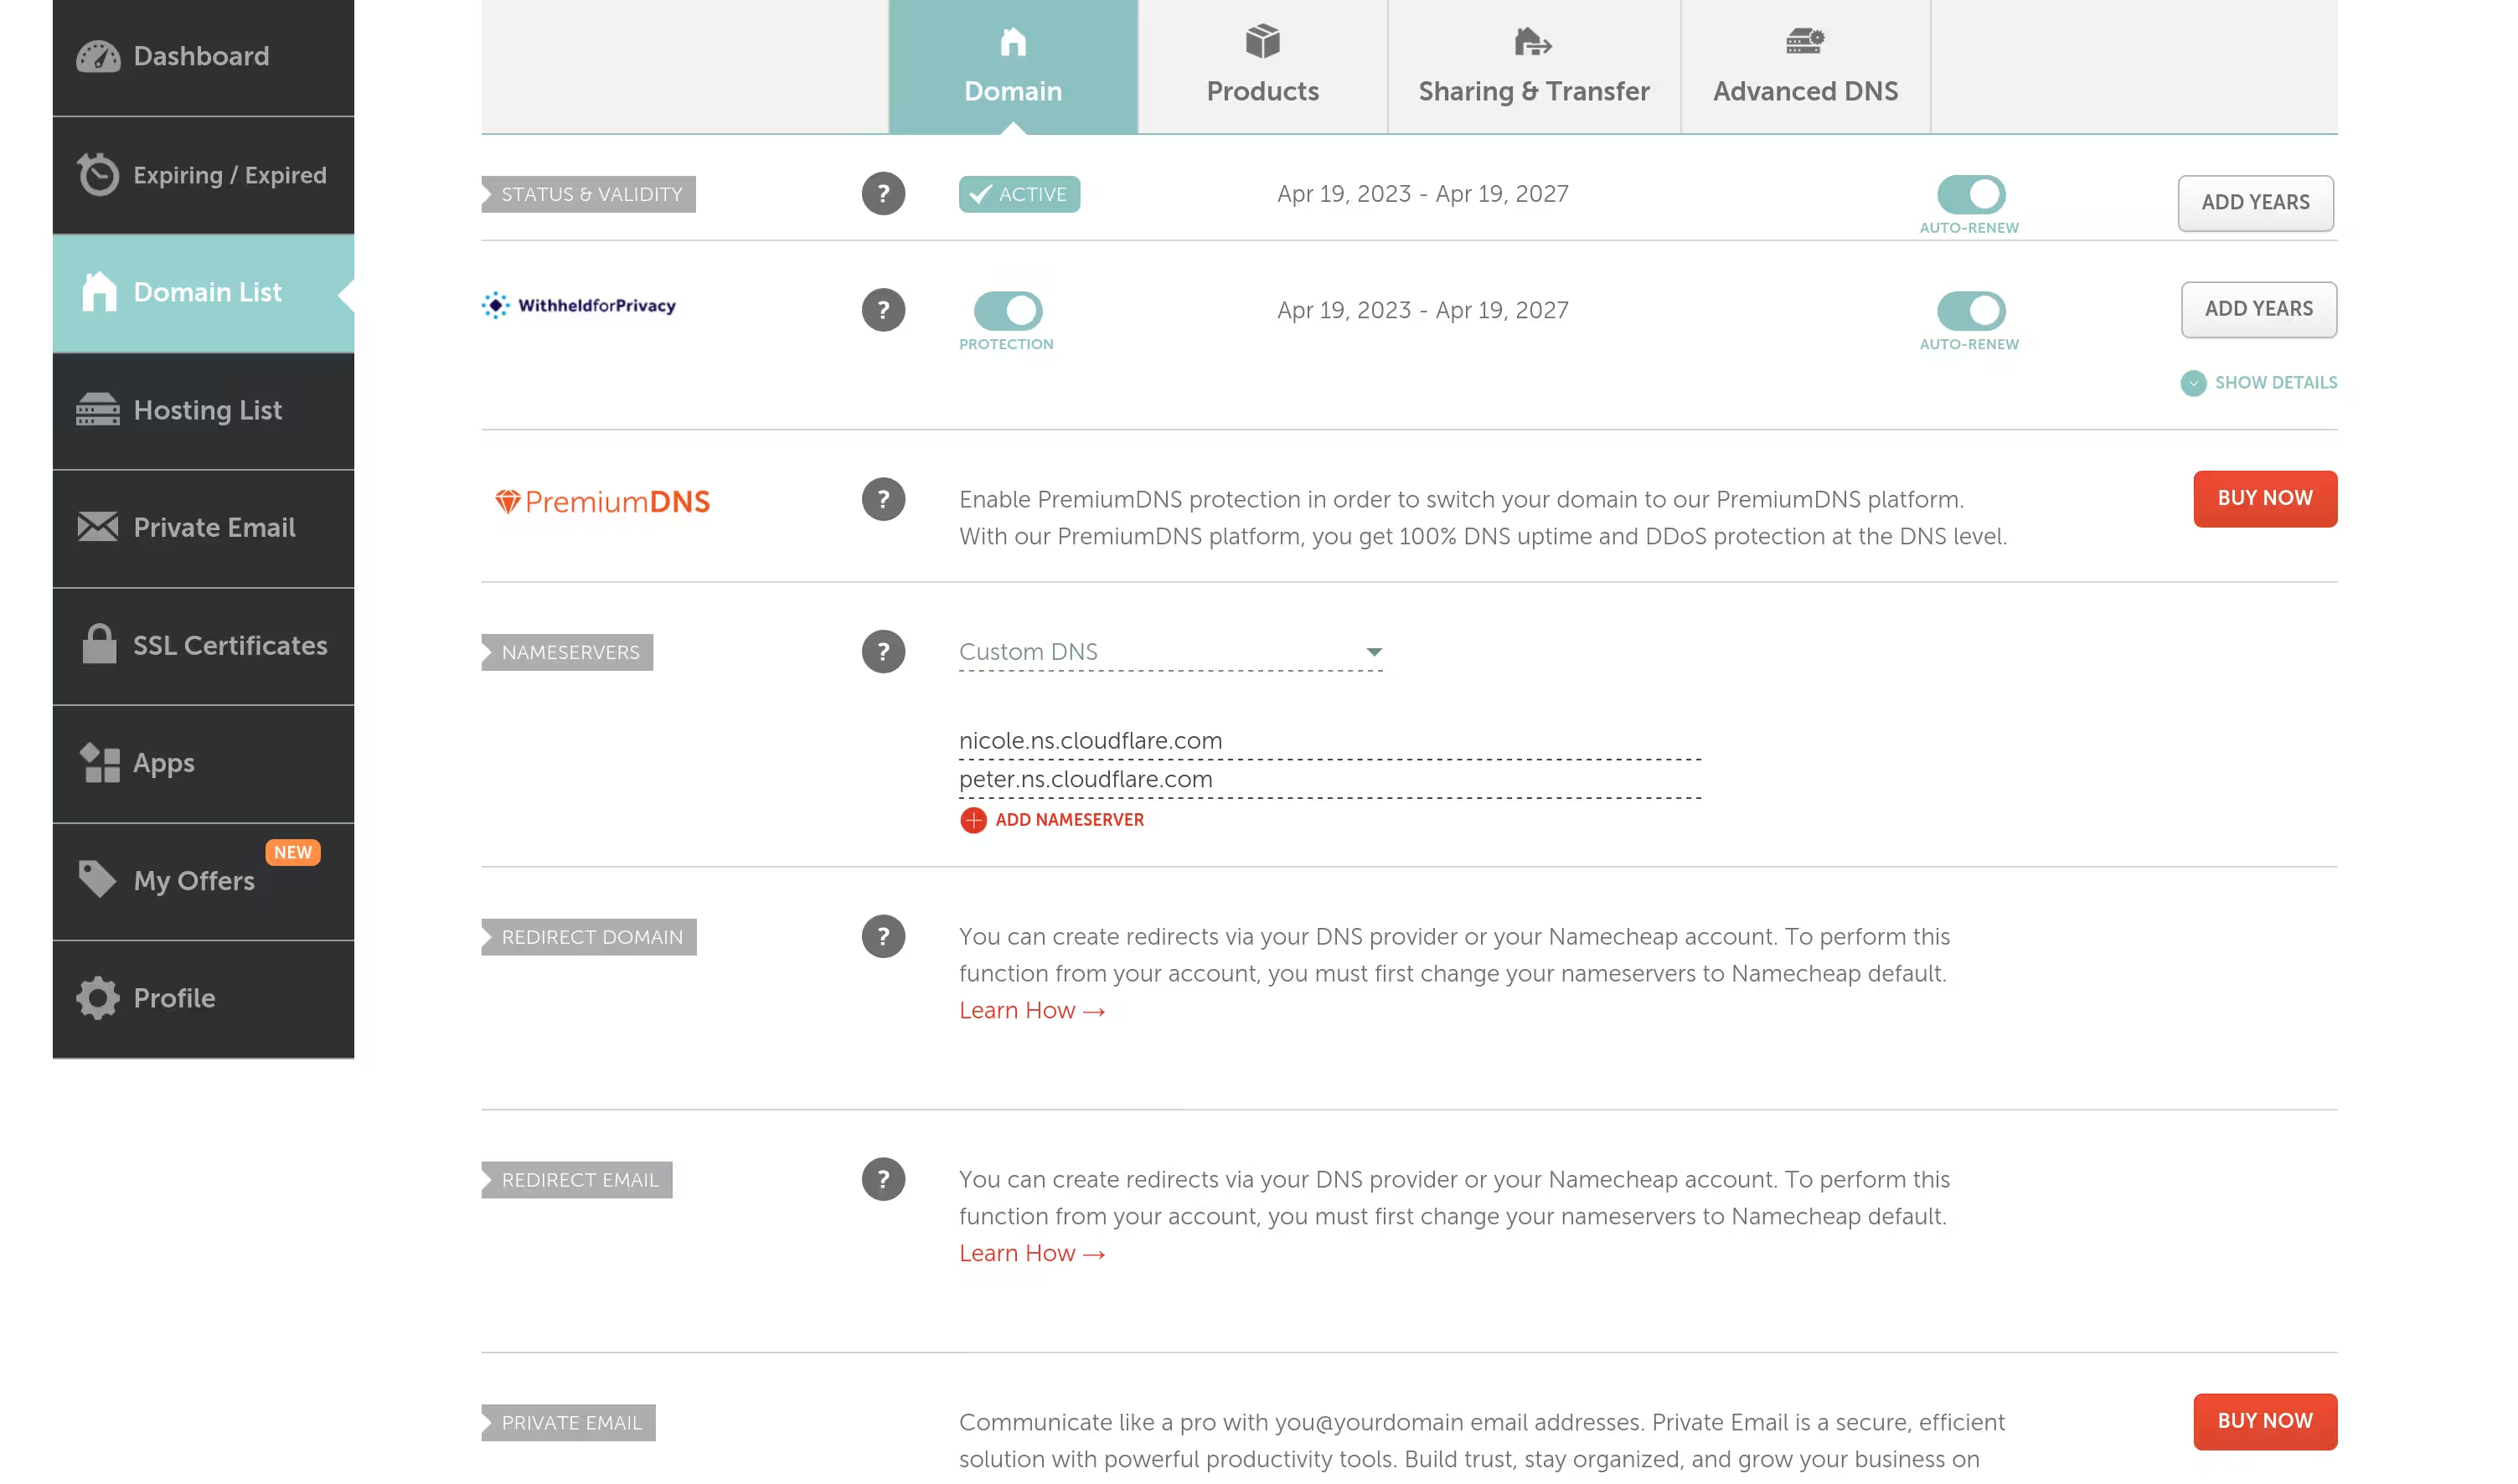
A blog post, as well as the previous video by Tailscale, used Cloudflare to manage their DNS records. I did not want to transfer my domain, but I later found a middle ground, where I can simply change the nameserver to Cloudflare’s while keeping the domain with Namecheap.
I went to Cloudflare dashboard to connect my domain.
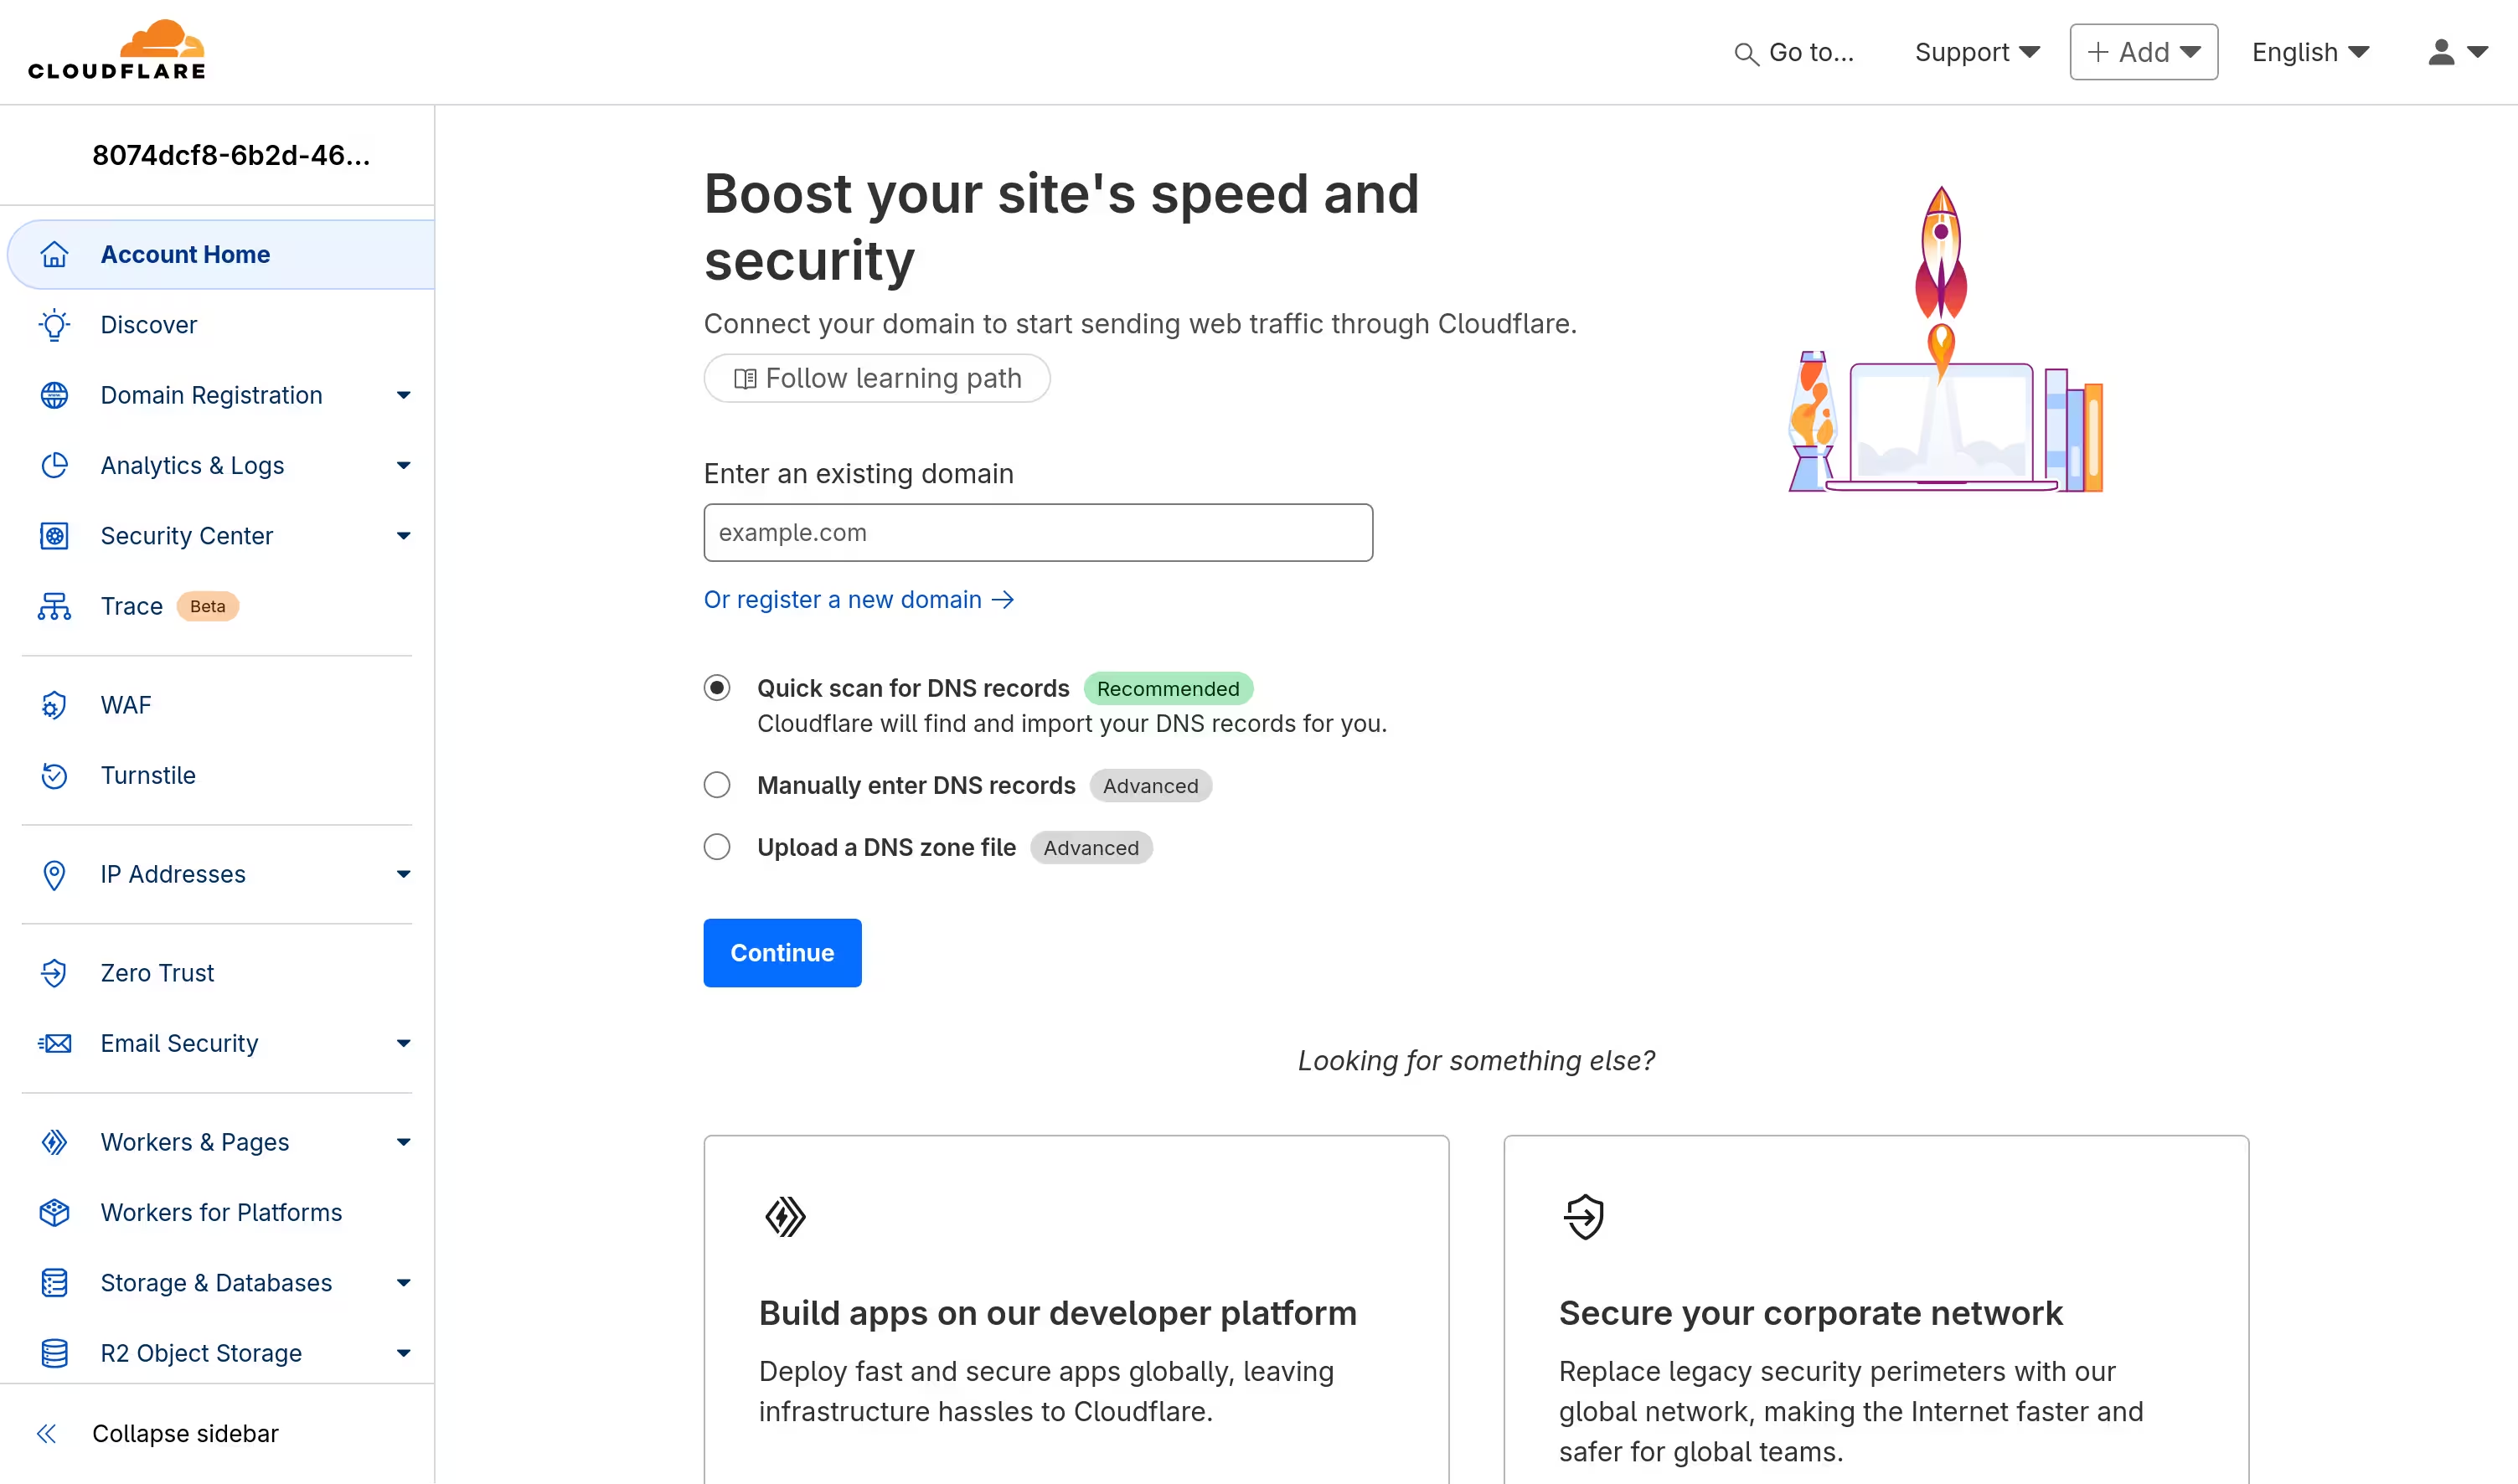
Choosing “Quick scan for DNS records” upon connection brought almost all the records from the domain. I made sure no records were incorrect or missing and changed the nameserver.
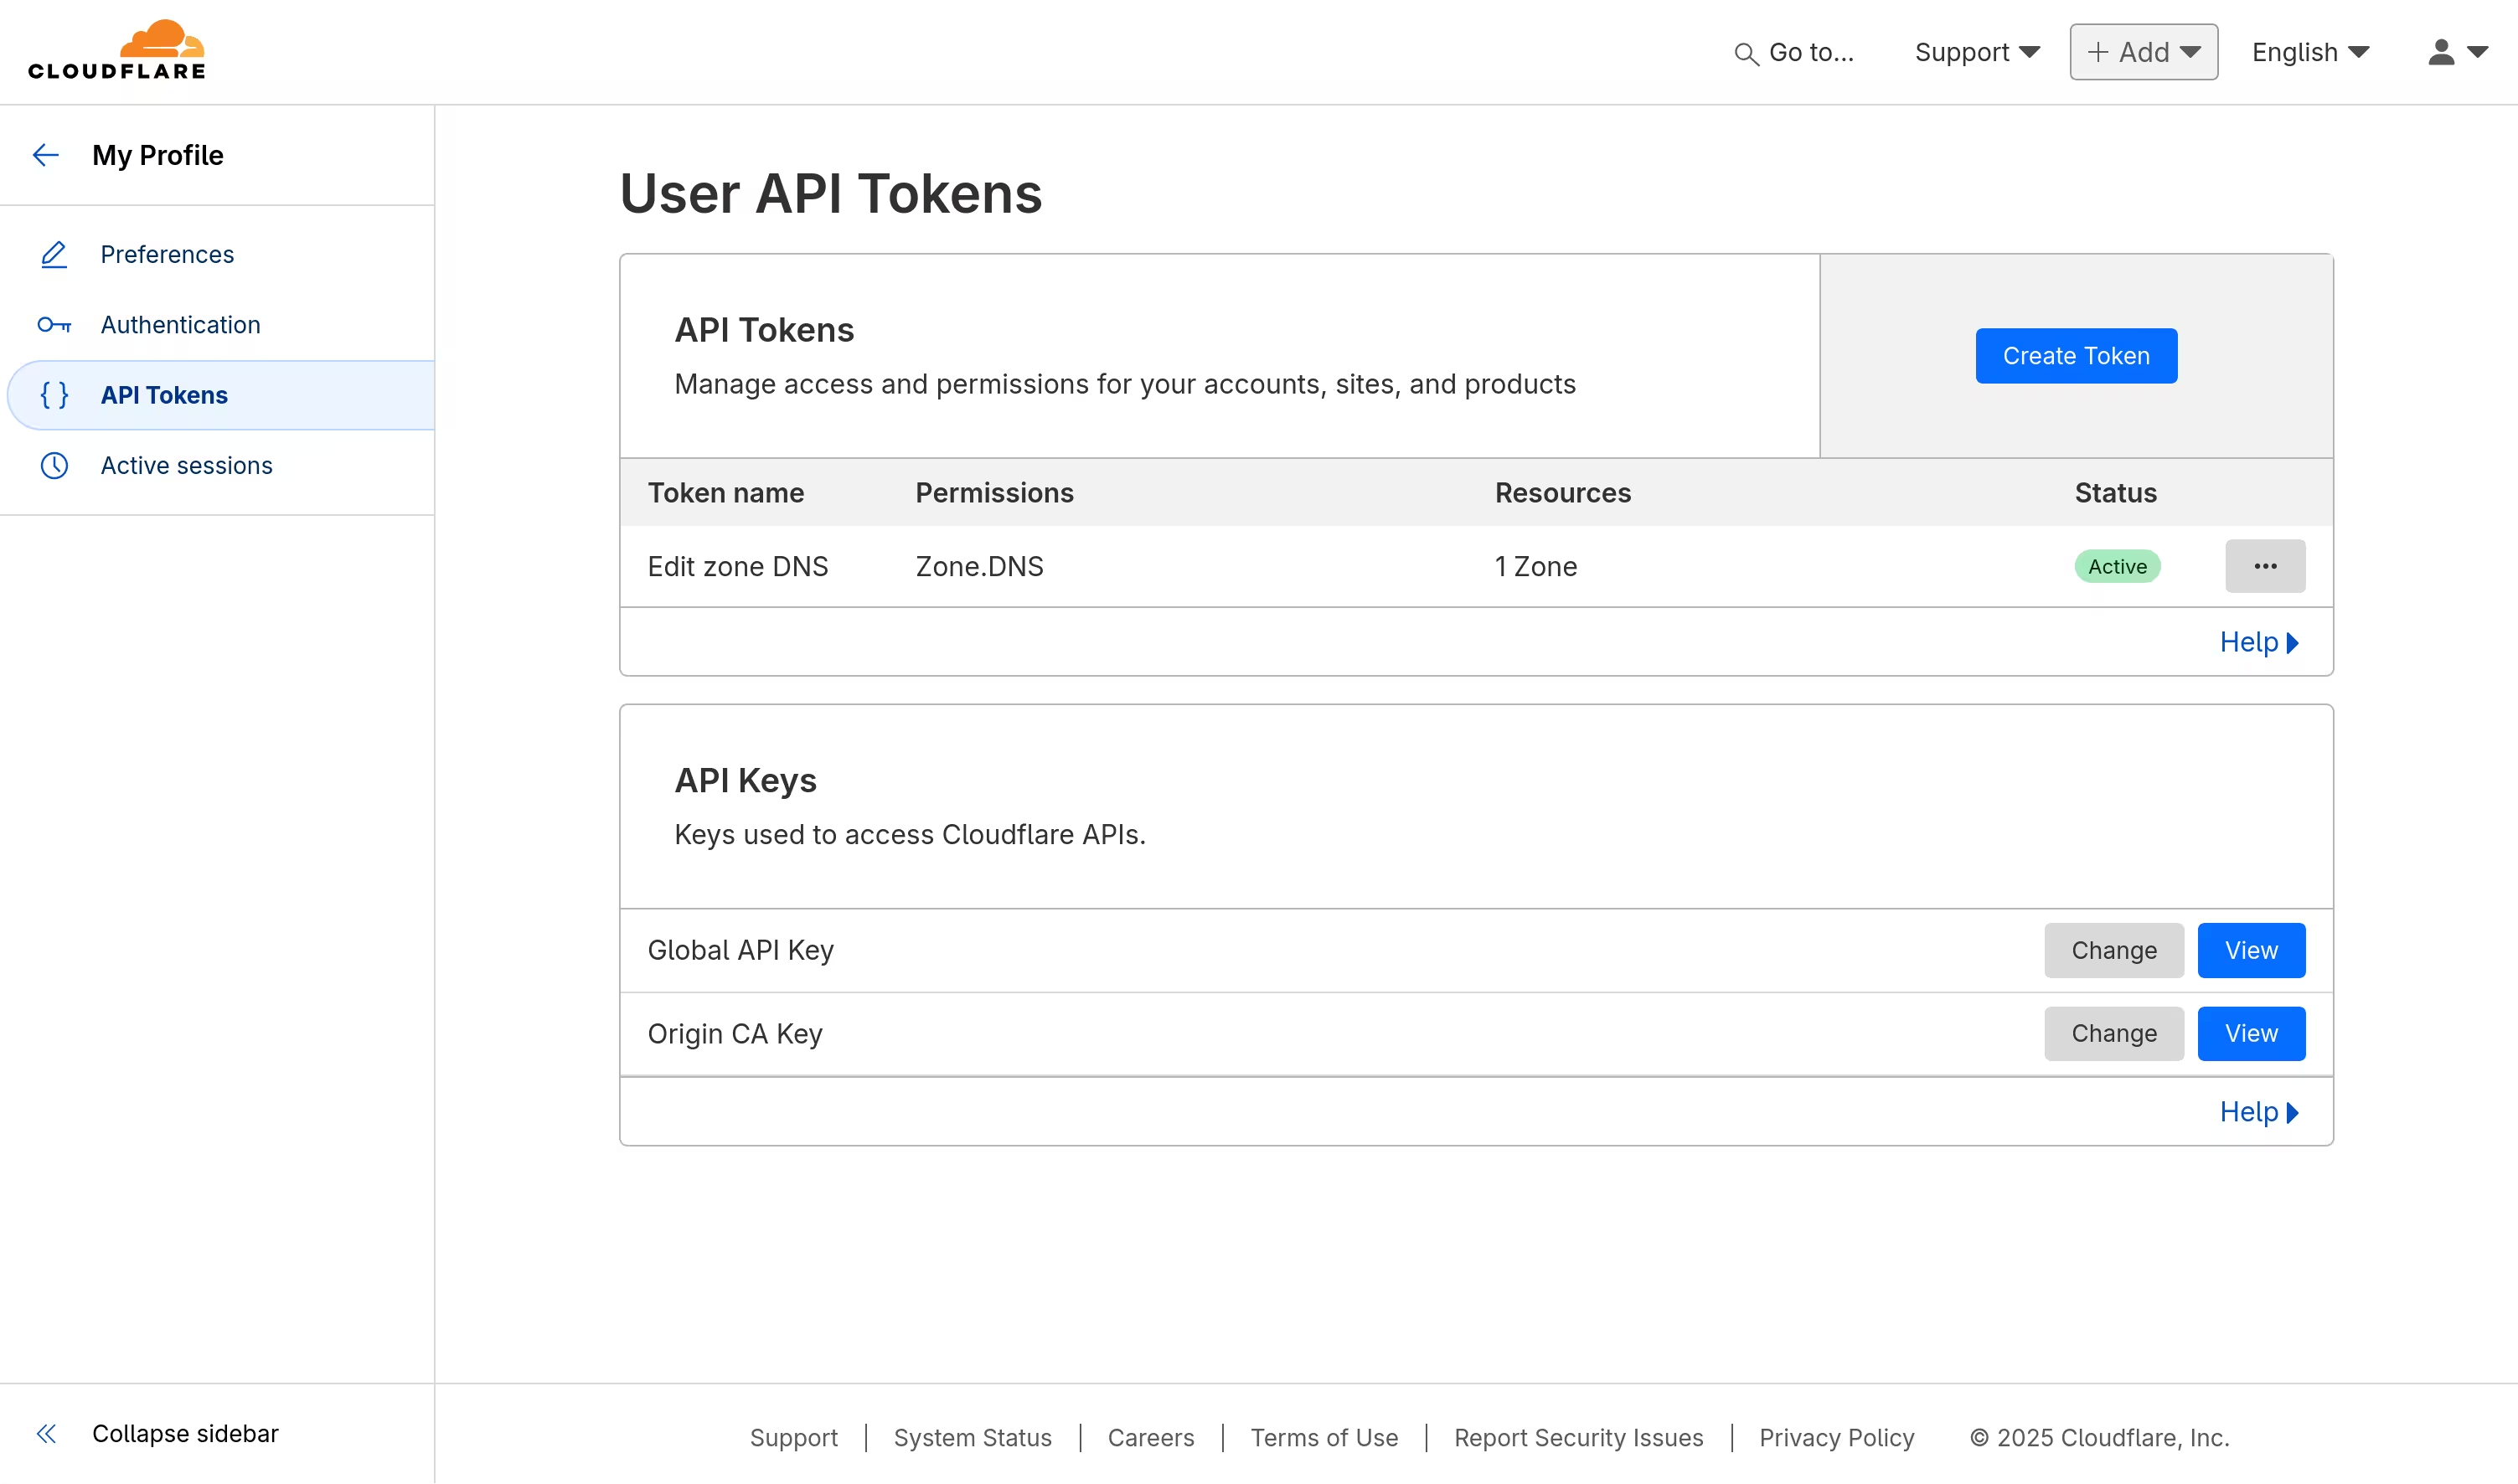
An API token was then created for use with Caddy later.
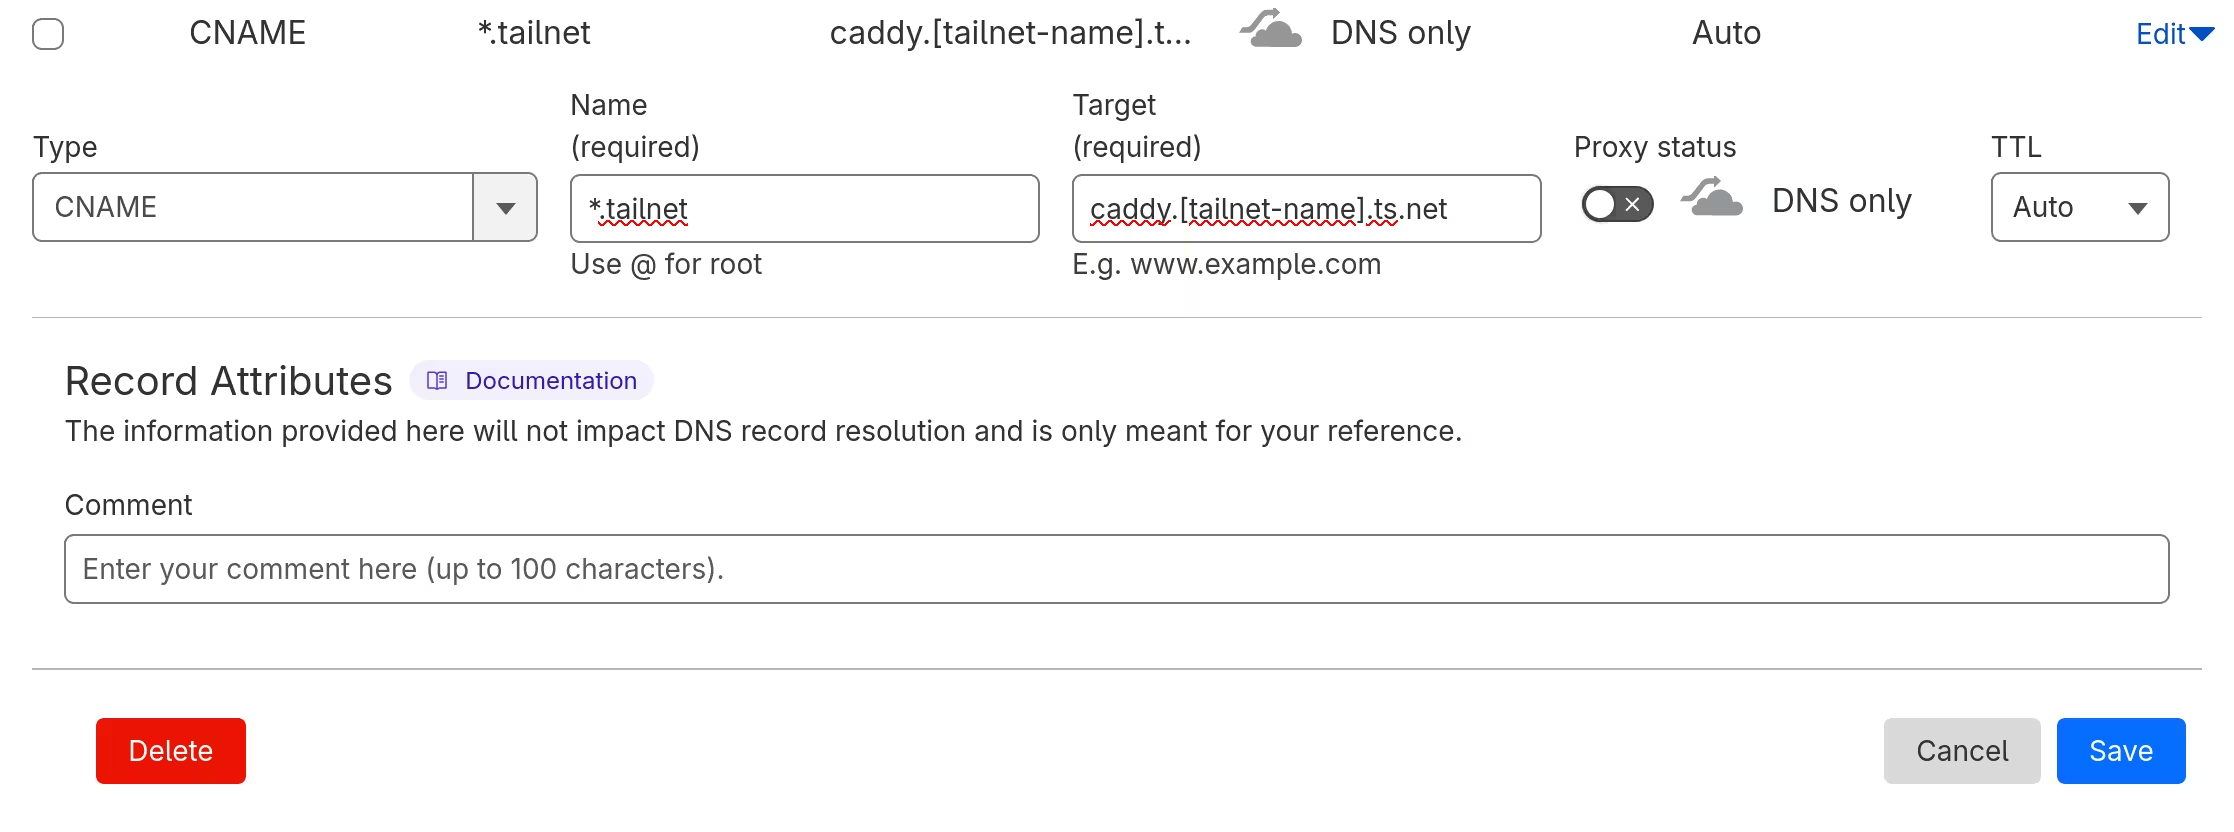
I then added a CNAME record, using a wildcard to direct any matches to the Caddy server.
Preparing Podman
Since I wanted to deploy Caddy in a containerised environment, I made sure Podman was installed.
pi@raspberrypi:~$ sudo apt install podman
I then created a user specifically for Caddy.
pi@raspberrypi:~$ sudo useradd -m -s /bin/bash caddy
It was not necessary to add subuid and subgid ranges for the new user, as /etc/subuid and /etc/subgid were already modified upon user creation.
To allow rootless containers to operate even after the user logs out, loginctl enable-linger was issued on the new user.
caddy@raspberrypi:~$ loginctl enable-linger
Defining containers with Quadlet
Since I used Podman, the idea of writing container definitions as systemd unit files was interesting to me. After being introduced with it, I decided to write Quadlet files and leverage systemd’s service management.
Preparing workspace
I forked the upstream repository and cloned the forked one, as I decided to write files there.
[lyuk98@framework ~]$ git clone https://github.com/lyuk98/caddy.git
After entering the directory, I switched to a new branch deployment.
[lyuk98@framework ~]$ cd caddy/
[lyuk98@framework caddy]$ git switch -c deployment v2.9.1
Lastly, the directory to store Quadlet files was created.
[lyuk98@framework caddy]$ mkdir -p containers/systemd/
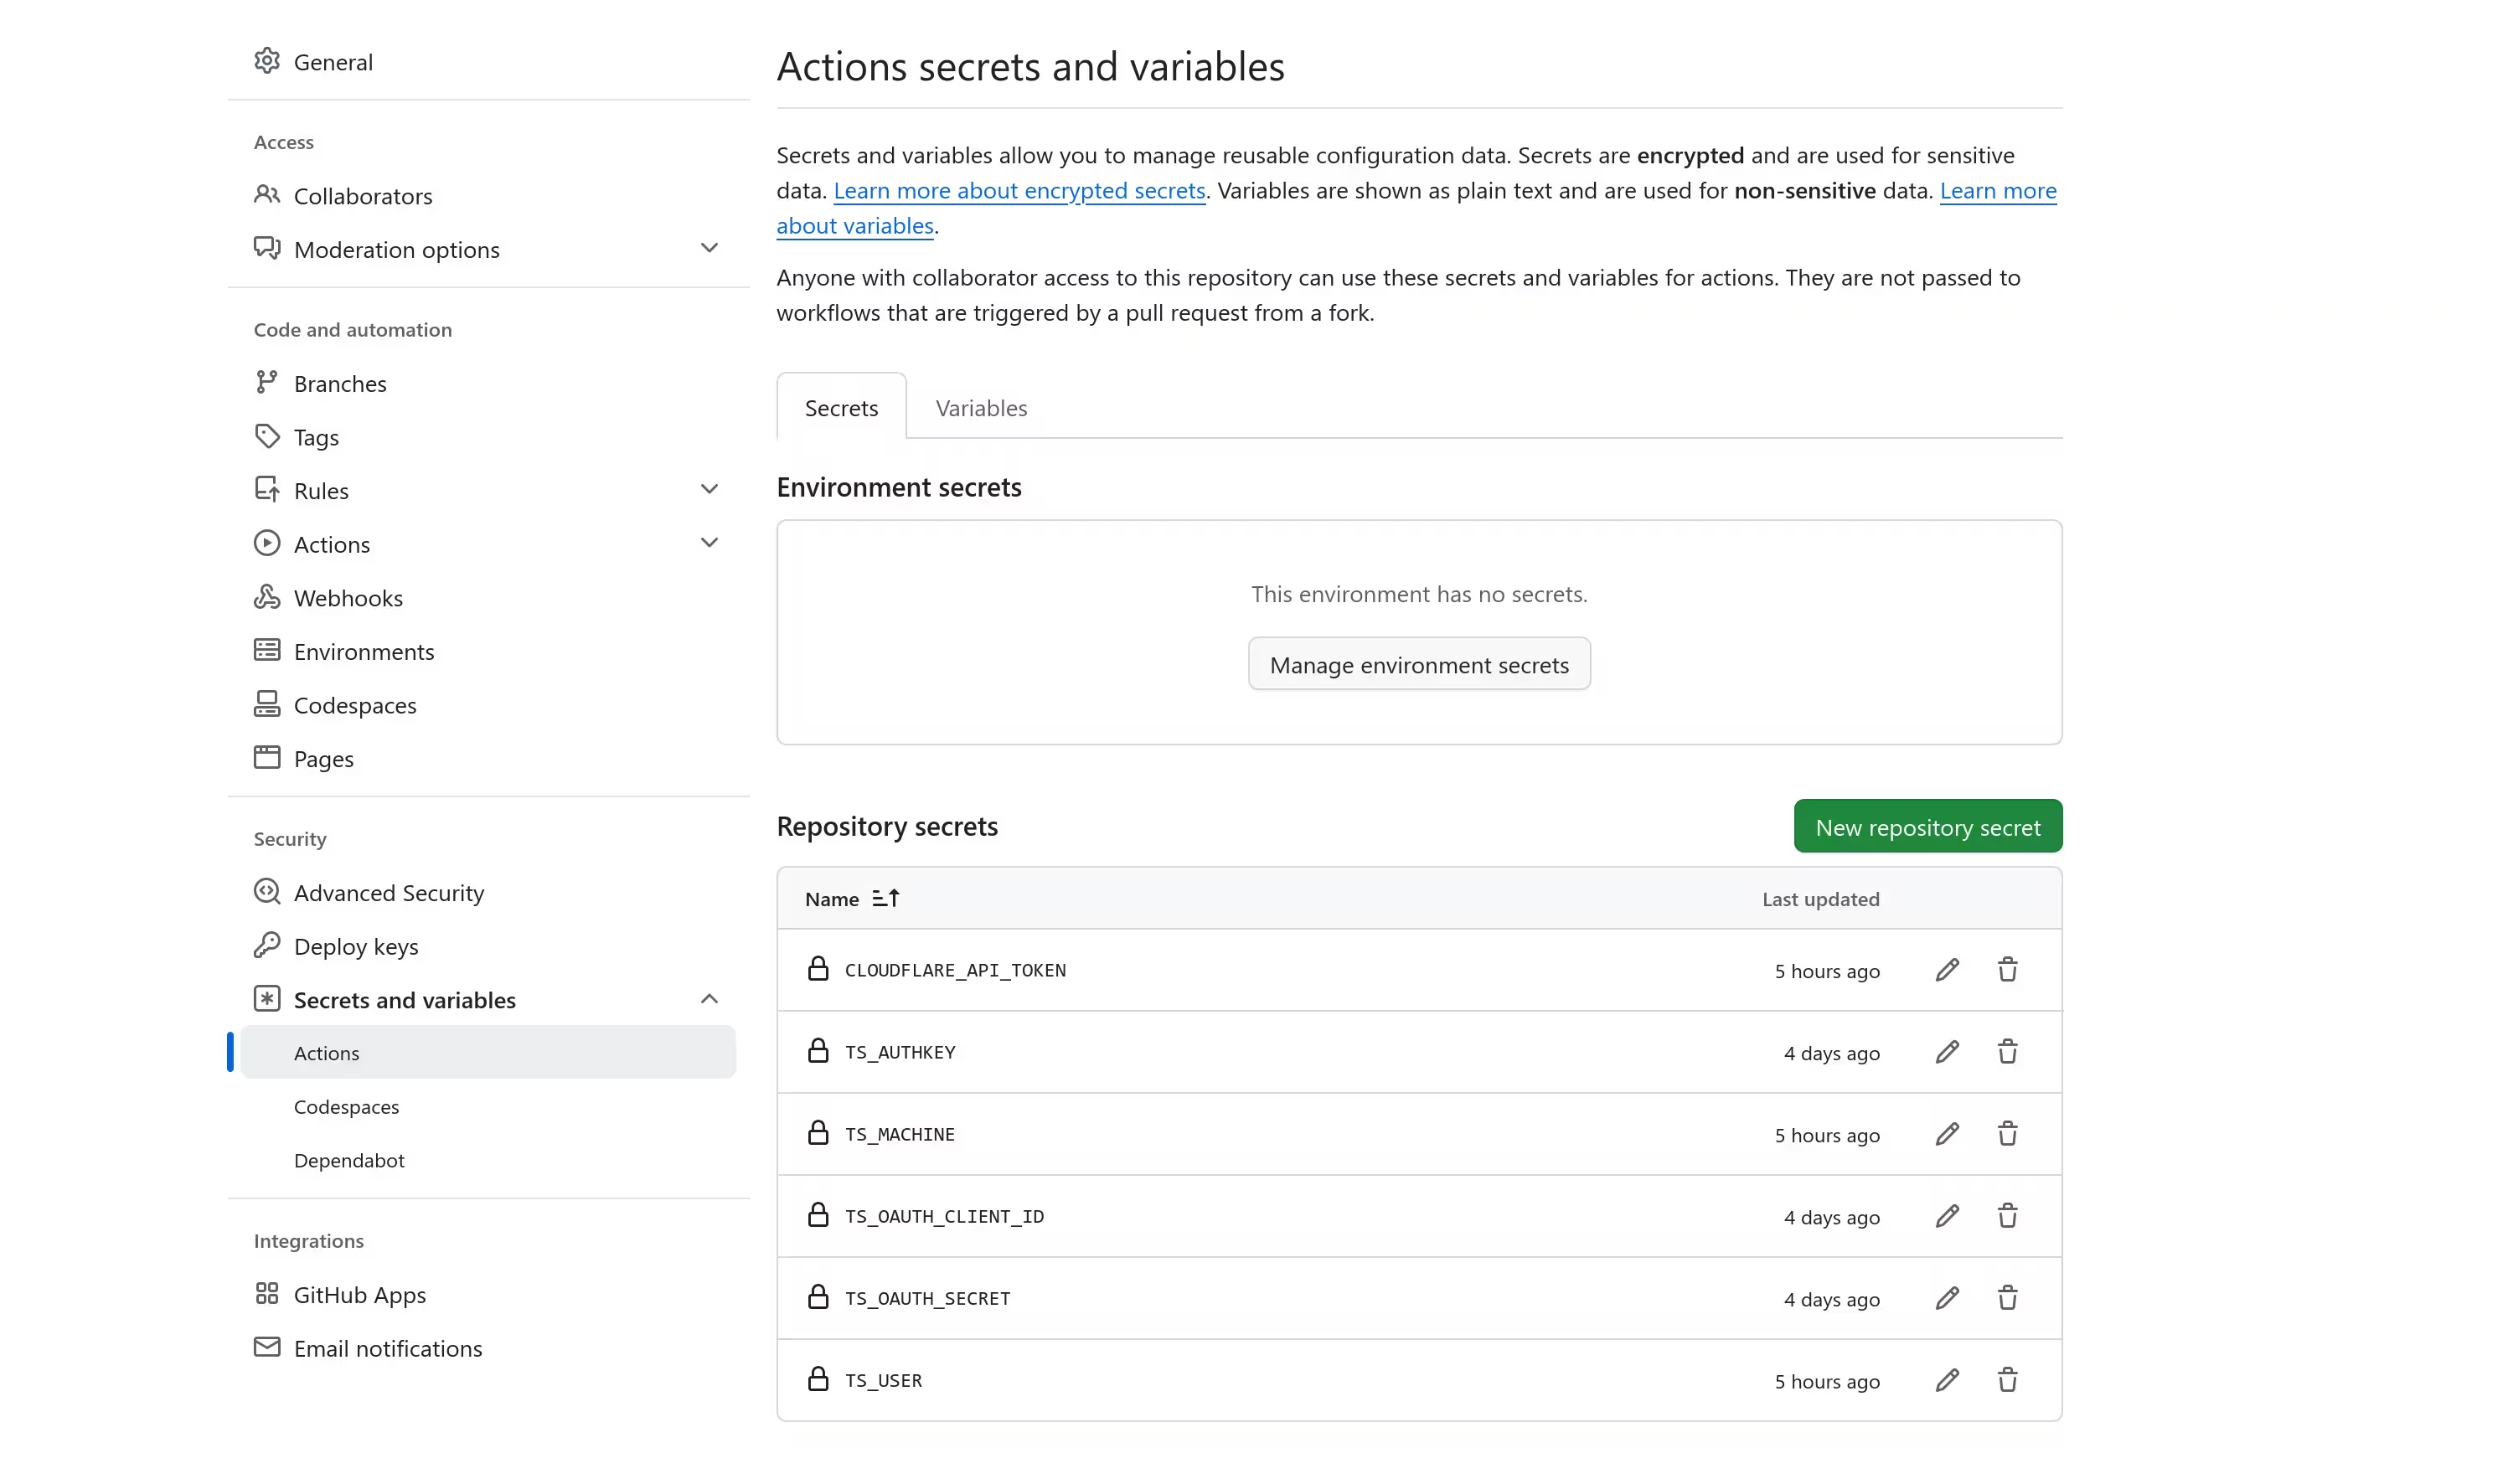
I then went to repository’s settings to add secrets. The following secrets were defined:
CLOUDFLARE_API_TOKEN: an API token created from the Cloudflare dashboard. It was to be used by Caddy later.TS_USERandTS_MACHINE: destination user and machine from the tailnet. They are used asssh $TS_USER@$TS_MACHINEto access the deployment target.TS_OAUTH_CLIENT_IDandTS_OAUTH_SECRET: OAuth client ID and secret for the GitHub Actions runner. The client was created from the tailnet settings, with the scope ofauth_keysand the tagtag:ciassigned.TS_AUTHKEY: OAuth client secret for Caddy. The client was created with the scope ofauth_keysand the tag oftag:caddy.
Writing Quadlet files
The documentation on using Docker containers with Tailscale provided an example where Nginx uses Tailscale’s existing network stack. I wanted to achieve the same with Caddy, so I first wrote the container definition for Tailscale at containers/systemd/tailscaled.container.
[Unit]
PartOf=caddy.service

[Container]
ContainerName=tailscaled
Image=docker.io/tailscale/tailscale:latest
EnvironmentFile=.env
Environment=TS_HOSTNAME=caddy
Environment=TS_EXTRA_ARGS=--advertise-tags=tag:caddy
Environment=TS_TAILSCALED_EXTRA_ARGS=--state=mem:

[Service]
Restart=always
The container was to accept .env that GitHub Actions would write environment variables CLOUDFLARE_API_TOKEN and TS_AUTHKEY to. I also added --state=mem: so that the ephemeral node gets removed from the tailnet as soon as the container stops.
Following tailscaled.container, I worked on Caddy itself at containers/systemd/caddy.container.
[Unit]
Description=Fast and extensible multi-platform HTTP/1-2-3 web server with automatic HTTPS
Requires=tailscaled.service
After=tailscaled.service

[Container]
ContainerName=caddy
Image=quay.io/fariszr/caddy-dns:cloudflare
Network=container:tailscaled
EnvironmentFile=.env
Volume=%h/caddy/conf:/etc/caddy:Z
Volume=%h/caddy/data:/data
Volume=%h/caddy/config:/config

[Service]
Restart=always

[Install]
WantedBy=multi-user.target default.target
Caddy offers Docker images like several other services do. With the server’s modular architecture, however, I had to separately include the necessary DNS provider module, which involves creating a custom build of Caddy with xcaddy. Fortunately, someone made images with the module included, so all I had to do was to use one of their images instead of the official ones.
Running Caddy
I first set the environment variables, with their names matching the secrets’, and saved some of them into a file.
[lyuk98@framework caddy]$ echo "TS_AUTHKEY=$TS_AUTHKEY" > containers/systemd/.env
[lyuk98@framework caddy]$ echo "CLOUDFLARE_API_TOKEN=$CLOUDFLARE_API_TOKEN" >> containers/systemd/.env
A command was issued via SSH, ensuring necessary directories are present.
[lyuk98@framework caddy]$ ssh caddy@raspberrypi "mkdir -p -- ~/caddy/conf ~/caddy/data ~/caddy/config ~/.config/containers/systemd"
The Caddyfile was then created, which only happens when the file does not exist.
[lyuk98@framework caddy]$ ssh caddy@raspberrypi "test -f ~/caddy/conf/Caddyfile || touch ~/caddy/conf/Caddyfile"
Quadlet files, as well as .env, were copied to the server.
[lyuk98@framework caddy]$ scp -r containers/systemd/. caddy@raspberrypi:~/.config/containers/systemd/
After issuing systemctl --user reload-daemon, the container was started with the generated unit.
[lyuk98@framework caddy]$ ssh caddy@raspberrypi "systemctl --user daemon-reload"
[lyuk98@framework caddy]$ ssh caddy@raspberrypi "systemctl --user start caddy.service"
I edited Caddyfile to make use of the DNS module for Cloudflare.
caddy@raspberrypi:~$ nano ~/caddy/conf/Caddyfile
caddy@raspberrypi:~$ head -6 ~/caddy/conf/Caddyfile
(cloudflare) {
	tls {
		dns cloudflare {env.CLOUDFLARE_API_TOKEN}
		resolvers 1.1.1.1 1.0.0.1
	}
}
caddy@raspberrypi:~$ systemctl --user restart caddy.service
Automating deployment with GitHub Actions
To automatically issue commands above and deploy Caddy every time I push changes, I created a workflow at .github/workflows/deploy.yml. As I pushed the commits, the runner automatically ran the script.

Deploying PeerTube
With so much I have learned to reach this far, I was hopeful that deploying PeerTube will not be as hard (but it actually was).
Preparing the repository
Just like what I did with Caddy, I forked the upstream repository and set up the environment.
[lyuk98@framework ~]$ git clone https://github.com/lyuk98/PeerTube.git
[lyuk98@framework ~]$ cd PeerTube/
[lyuk98@framework PeerTube]$ git switch -c deployment origin/master
[lyuk98@framework PeerTube]$ mkdir -p containers/systemd/
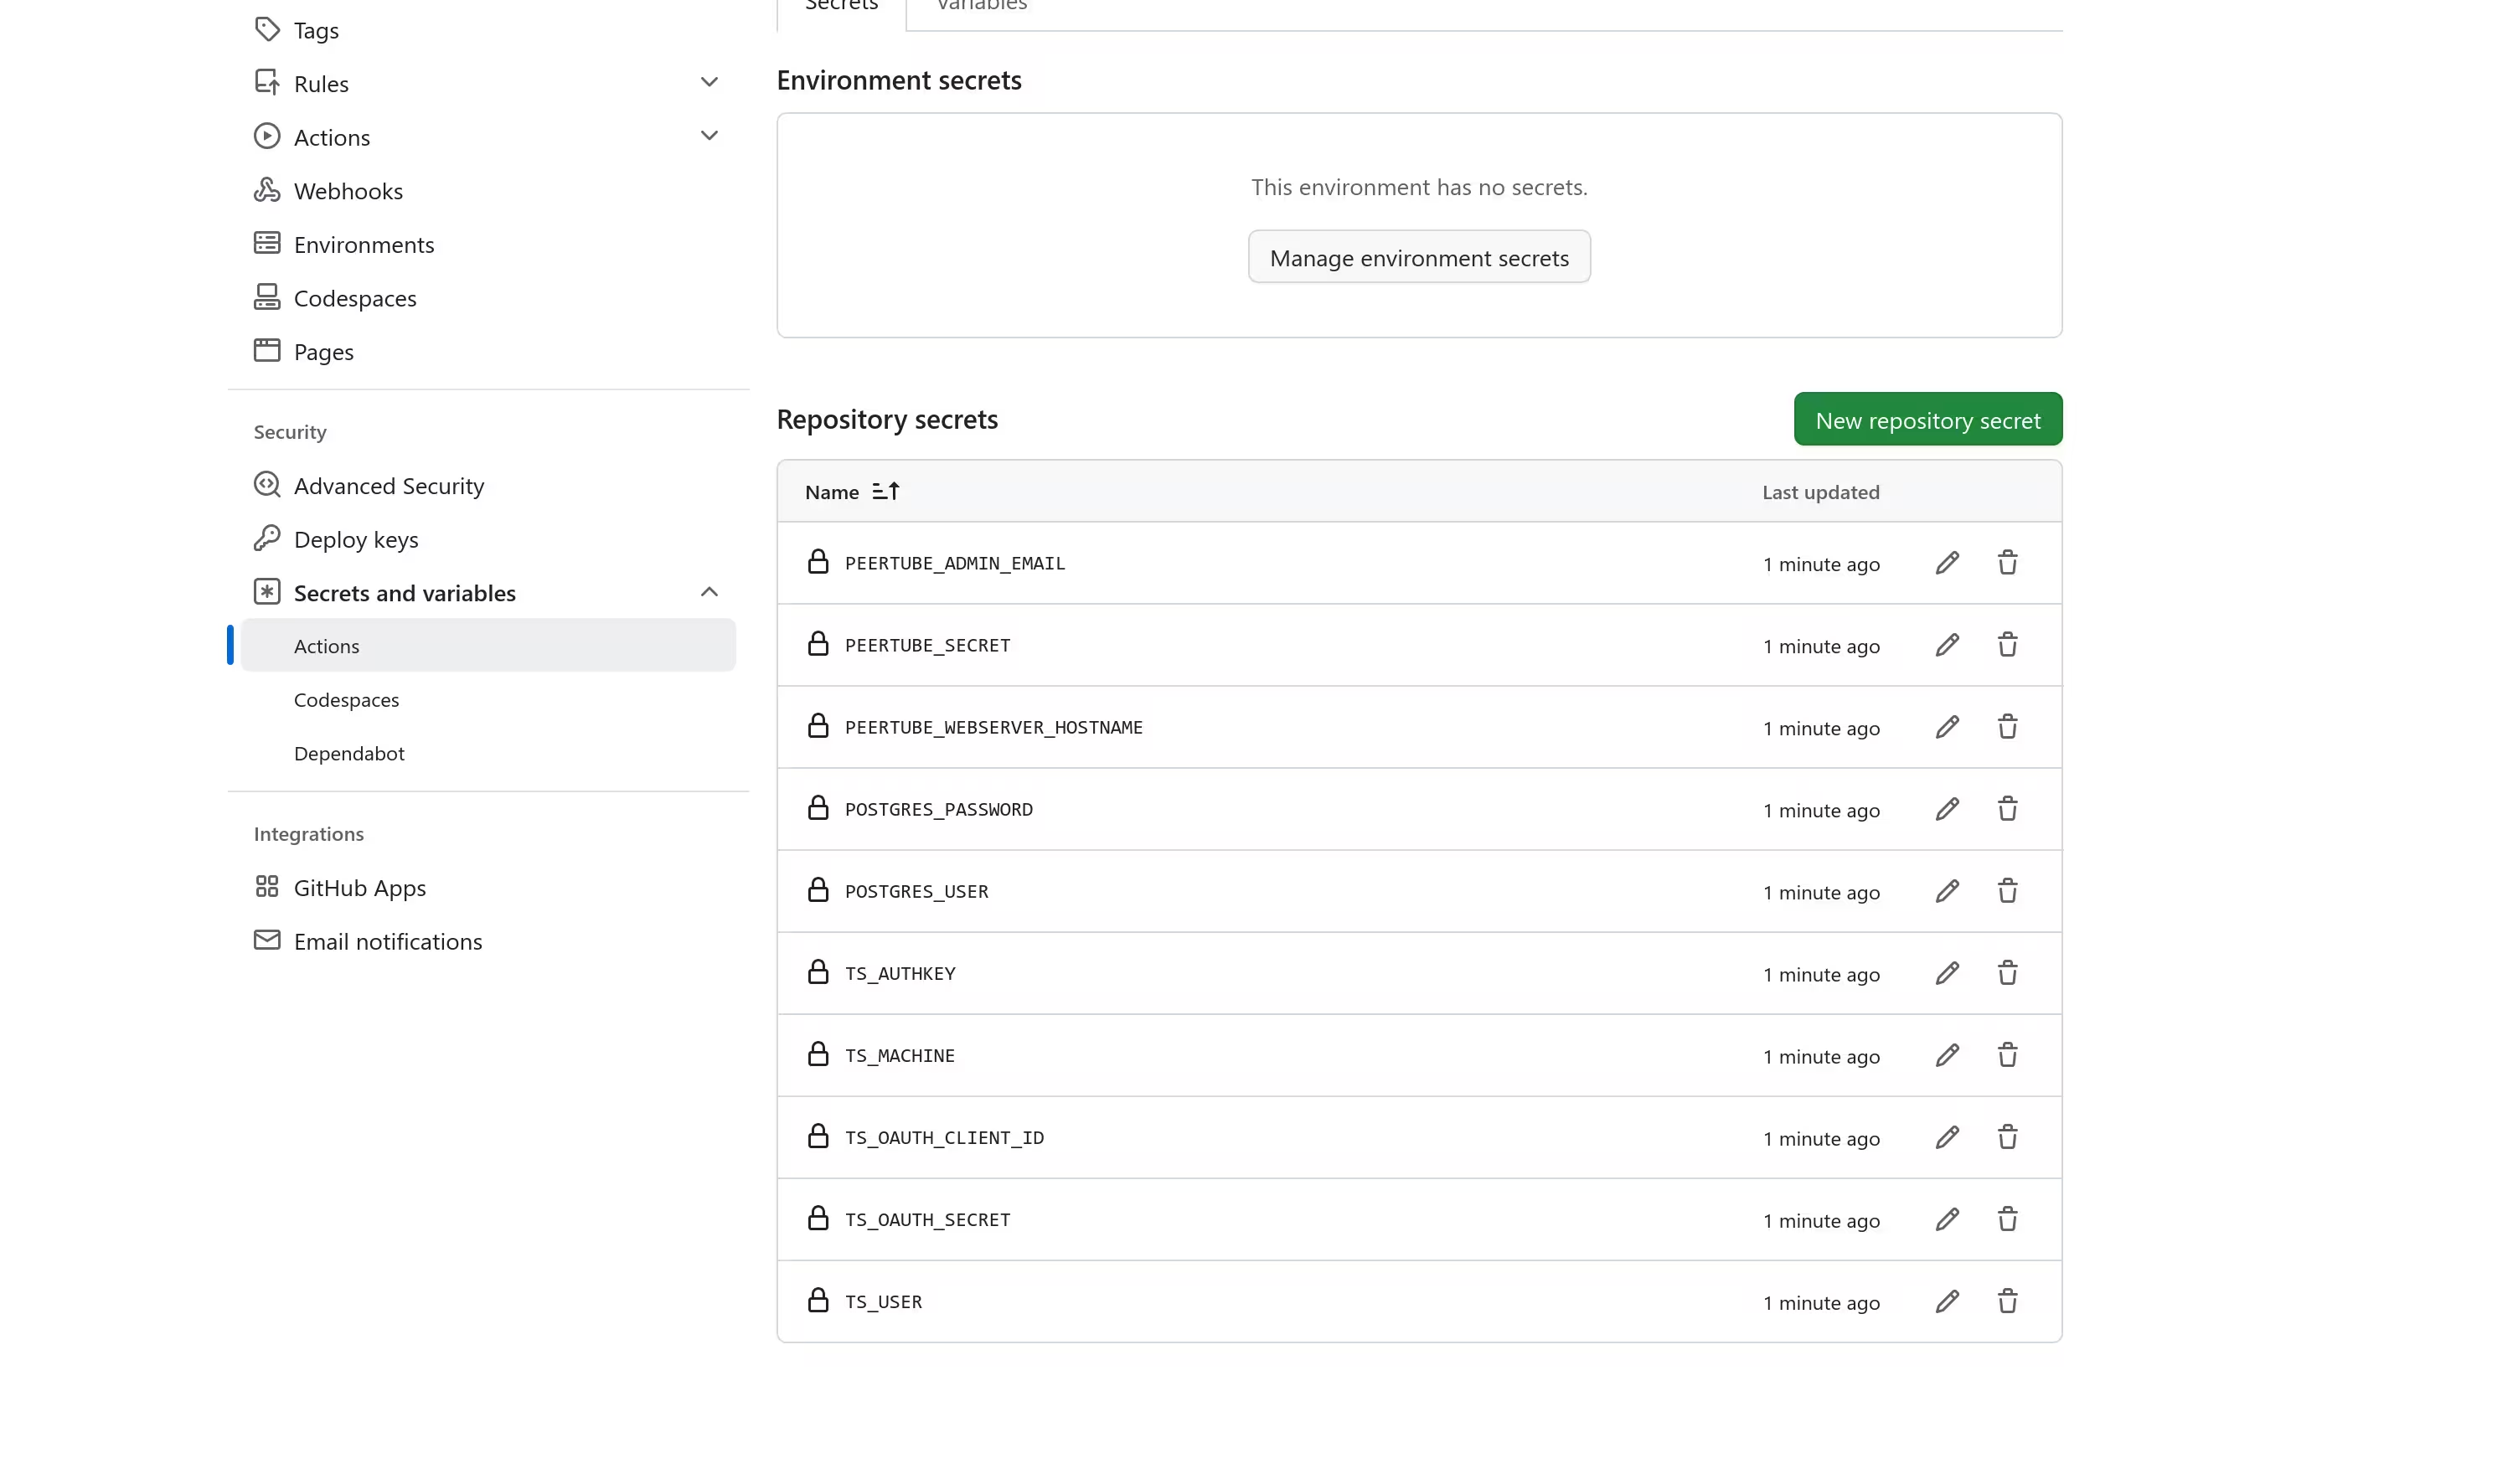
The following secrets were then added:
POSTGRES_USERandPOSTGRES_PASSWORD: username and password of the PeerTube’s PostgreSQL database.PEERTUBE_WEBSERVER_HOSTNAME: domain name to access the service with, such aspeertube.tailnet.example.com.PEERTUBE_SECRET: a secret random value. One can be generated withopenssl rand -hex 32.PEERTUBE_ADMIN_EMAIL: email of the administrator account.TS_USERandTS_MACHINE: destination user and machine from the tailnet.TS_OAUTH_CLIENT_IDandTS_OAUTH_SECRET: OAuth client ID and secret for the GitHub Actions runner, with the tagtag:ci.TS_AUTHKEY: OAuth client secret for PeerTube, having a tag oftag:peertube.
Defining containers
PeerTube provides docker-compose.yml for Docker installation, so I started from there. I studied the Compose file and manually converted it as Quadlet files.
I first created a pod peertube.pod to share the same network namespace among containers. It was to allow each container to reach others via localhost.
[Unit]
Description=ActivityPub-federated video streaming platform

[Pod]
PodName=peertube

[Install]
WantedBy=multi-user.target default.target
The Tailscale container tailscaled.container was then added to the pod. Since the host system supported the use of /dev/net/tun, I mounted it to the container, added CAP_NET_ADMIN capability, and disabled userspace networking. PartOf option was used to stop the container upon the pod’s termination.
[Unit]
PartOf=peertube-pod.service

[Container]
ContainerName=tailscaled
Image=docker.io/tailscale/tailscale:stable
Pod=peertube.pod

AddCapability=CAP_NET_ADMIN

EnvironmentFile=.env
Environment=TS_HOSTNAME=peertube
Environment=TS_EXTRA_ARGS=--advertise-tags=tag:peertube
Environment=TS_TAILSCALED_EXTRA_ARGS=--state=mem:
Environment=TS_USERSPACE=false

Volume=/dev/net/tun:/dev/net/tun

[Service]
Restart=always
Other containers and named volumes were created by closely following the Compose file.
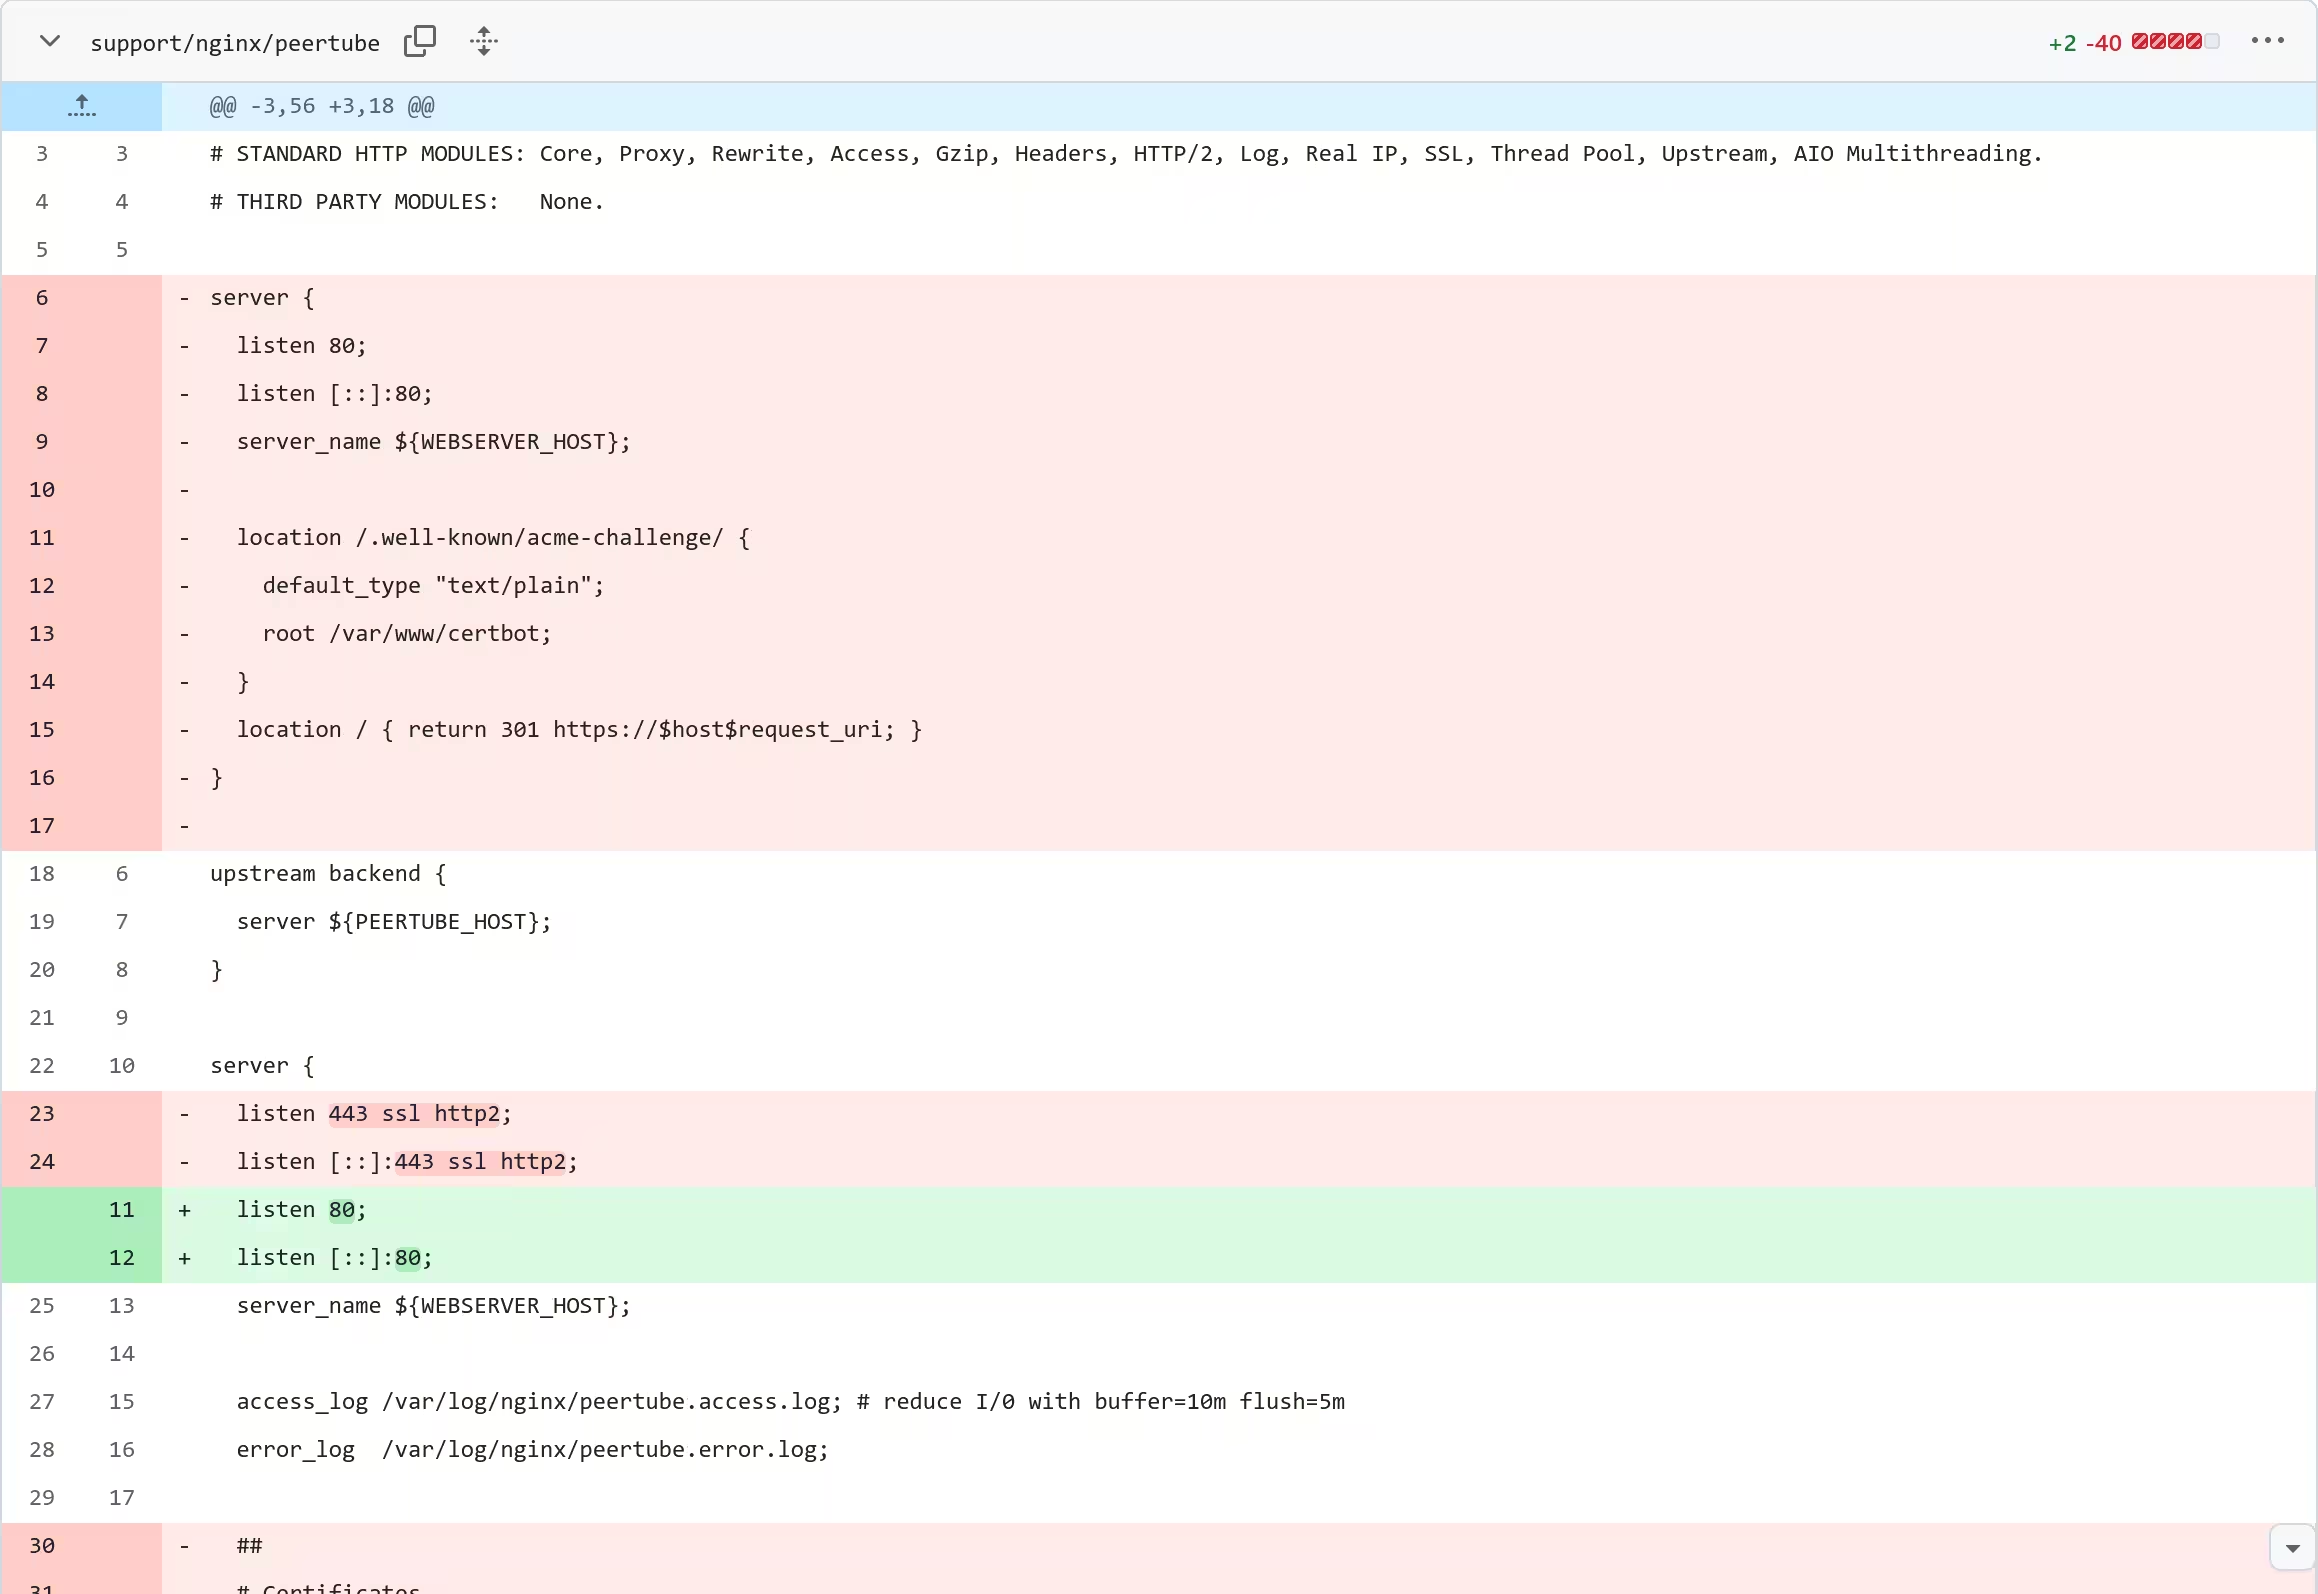
Since Caddy was to serve traffic over HTTPS, the Nginx configuration was edited to remove anything pertaining to HTTPS.
Running PeerTube
I created a new user for PeerTube before running it on the server.
pi@raspberrypi:~$ sudo useradd -m -s /bin/bash peertube
peertube@raspberrypi:~$ loginctl enable-linger
I first set the environment variables like the secrets mentioned above. Using SSH, I then ensured necessary directories exist.
[lyuk98@framework PeerTube]$ CMDLINE="mkdir -p --"
[lyuk98@framework PeerTube]$ CMDLINE+=" ~/docker-volume/nginx"
[lyuk98@framework PeerTube]$ CMDLINE+=" ~/docker-volume/data"
[lyuk98@framework PeerTube]$ CMDLINE+=" ~/docker-volume/certbot/conf"
[lyuk98@framework PeerTube]$ CMDLINE+=" ~/docker-volume/config"
[lyuk98@framework PeerTube]$ CMDLINE+=" ~/docker-volume/db"
[lyuk98@framework PeerTube]$ CMDLINE+=" ~/docker-volume/redis"
[lyuk98@framework PeerTube]$ CMDLINE+=" ~/docker-volume/opendkim/keys"
[lyuk98@framework PeerTube]$ CMDLINE+=" ~/.config/containers/systemd"
[lyuk98@framework PeerTube]$ ssh $TS_USER@$TS_MACHINE "$CMDLINE"
A file containing environment variables was created from the template.
[lyuk98@framework PeerTube]$ sed \
    -e "s/<MY POSTGRES USERNAME>/$POSTGRES_USER/g" \
    -e "s/<MY POSTGRES PASSWORD>/$POSTGRES_PASSWORD/g" \
    -e "s/<MY DOMAIN>/$PEERTUBE_WEBSERVER_HOSTNAME/g" \
    -e "s/<MY PEERTUBE SECRET>/$PEERTUBE_SECRET/g" \
    -e "s/<MY EMAIL ADDRESS>/$PEERTUBE_ADMIN_EMAIL/g" \
    -e "s/\$POSTGRES_USER/$POSTGRES_USER/g" \
    -e "s/\$POSTGRES_PASSWORD/$POSTGRES_PASSWORD/g" \
    support/docker/production/.env \
    > containers/systemd/.env
[lyuk98@framework PeerTube]$ sed -i \
    -e "s/#PEERTUBE_WEBSERVER_HTTPS=false/PEERTUBE_WEBSERVER_HTTPS=true/g" \
    -e "s/#PEERTUBE_WEBSERVER_PORT=9000/PEERTUBE_WEBSERVER_PORT=443/g" \
    -e "s/PEERTUBE_DB_HOSTNAME=postgres/PEERTUBE_DB_HOSTNAME=localhost/g" \
    -e "s/PEERTUBE_SMTP_HOSTNAME=postfix/PEERTUBE_SMTP_HOSTNAME=localhost/g" \
    containers/systemd/.env
[lyuk98@framework PeerTube]$ echo "PEERTUBE_REDIS_HOSTNAME=localhost" >> containers/systemd/.env
[lyuk98@framework PeerTube]$ echo "TS_AUTHKEY=$TS_AUTHKEY" >> containers/systemd/.env
Necessary files were then copied to the server and the pod was seemingly ready to be started.
[lyuk98@framework PeerTube]$ scp support/nginx/peertube $TS_USER@$TS_MACHINE:~/docker-volume/nginx/peertube
[lyuk98@framework PeerTube]$ scp -r containers/systemd/. $TS_USER@$TS_MACHINE:~/.config/containers/systemd/
[lyuk98@framework PeerTube]$ ssh $TS_USER@$TS_MACHINE "systemctl --user daemon-reload"
I then started the pod, only to find out that it was not generated.
[lyuk98@framework PeerTube]$ ssh $TS_USER@$TS_MACHINE "systemctl --user start peertube-pod.service"
Failed to start peertube-pod.service: Unit peertube-pod.service not found.
I looked through the system journal, and found that the Pod option in Quadlet files was not supported by the current version of Podman.
peertube@raspberrypi:~$ journalctl --user | grep unsupported
Mar 27 20:26:08 raspberrypi systemd[168125]: quadlet-generator[168125]: converting "peertube-postfix.container": unsupported key 'Pod' in group 'Container' in /home/peertube/.config/containers/systemd/peertube-postfix.container
Mar 27 20:26:08 raspberrypi systemd[168125]: converting "peertube-postgres.container": unsupported key 'Pod' in group 'Container' in /home/peertube/.config/containers/systemd/peertube-postgres.container
Mar 27 20:26:08 raspberrypi systemd[168125]: converting "peertube-redis.container": unsupported key 'Pod' in group 'Container' in /home/peertube/.config/containers/systemd/peertube-redis.container
Mar 27 20:26:08 raspberrypi systemd[168125]: converting "peertube-server.container": unsupported key 'Pod' in group 'Container' in /home/peertube/.config/containers/systemd/peertube-server.container
Mar 27 20:26:08 raspberrypi systemd[168125]: converting "peertube-webserver.container": unsupported key 'Pod' in group 'Container' in /home/peertube/.config/containers/systemd/peertube-webserver.container
Mar 27 20:26:08 raspberrypi systemd[168125]: converting "tailscaled.container": unsupported key 'Pod' in group 'Container' in /home/peertube/.config/containers/systemd/tailscaled.container
Upgrading to Ubuntu 24.10
Upon searching, I realised that using pods from Quadlet files is only supported since Podman 5.0. Since Ubuntu 24.04 only came with Podman 4.9, I decided to do a release upgrade, which would allow me to get Podman 5.0. Having wiped Raspberry Pi OS in the past, I did not want to bother setting everything up again.
I first connected to the server via local network, not Tailscale.
[lyuk98@framework ~]$ ssh pi@raspberrypi.local
Tailscale, which uses a third-party repository, was uninstalled prior to the upgrade.
pi@raspberrypi:~$ sudo apt remove tailscale tailscale-archive-keyring
pi@raspberrypi:~$ sudo rm /etc/apt/sources.list.d/tailscale.list
I performed an update just in case. The file /etc/update-manager/release-upgrades was then edited to allow non-LTS upgrades. The release upgrade was performed afterwards, which took quite a while.
pi@raspberrypi:~$ sudo apt update
pi@raspberrypi:~$ sudo apt upgrade
pi@raspberrypi:~$ sudoedit /etc/update-manager/release-upgrades
pi@raspberrypi:~$ tail -1 /etc/update-manager/release-upgrades
Prompt=normal
pi@raspberrypi:~$ sudo do-release-upgrade
The system was restarted. I accessed the host to install Tailscale. With tailscale up, the daemon started again without any extra authentication needed.
pi@raspberrypi:~$ curl -fsSL https://pkgs.tailscale.com/stable/ubuntu/oracular.noarmor.gpg | sudo tee /usr/share/keyrings/tailscale-archive-keyring.gpg > /dev/null
pi@raspberrypi:~$ curl -fsSL https://pkgs.tailscale.com/stable/ubuntu/oracular.tailscale-keyring.list | sudo tee /etc/apt/sources.list.d/tailscale.list
pi@raspberrypi:~$ sudo apt update
pi@raspberrypi:~$ sudo apt install tailscale
pi@raspberrypi:~$ sudo tailscale up --advertise-tags tag:webserver --ssh
Running PeerTube (continuation)
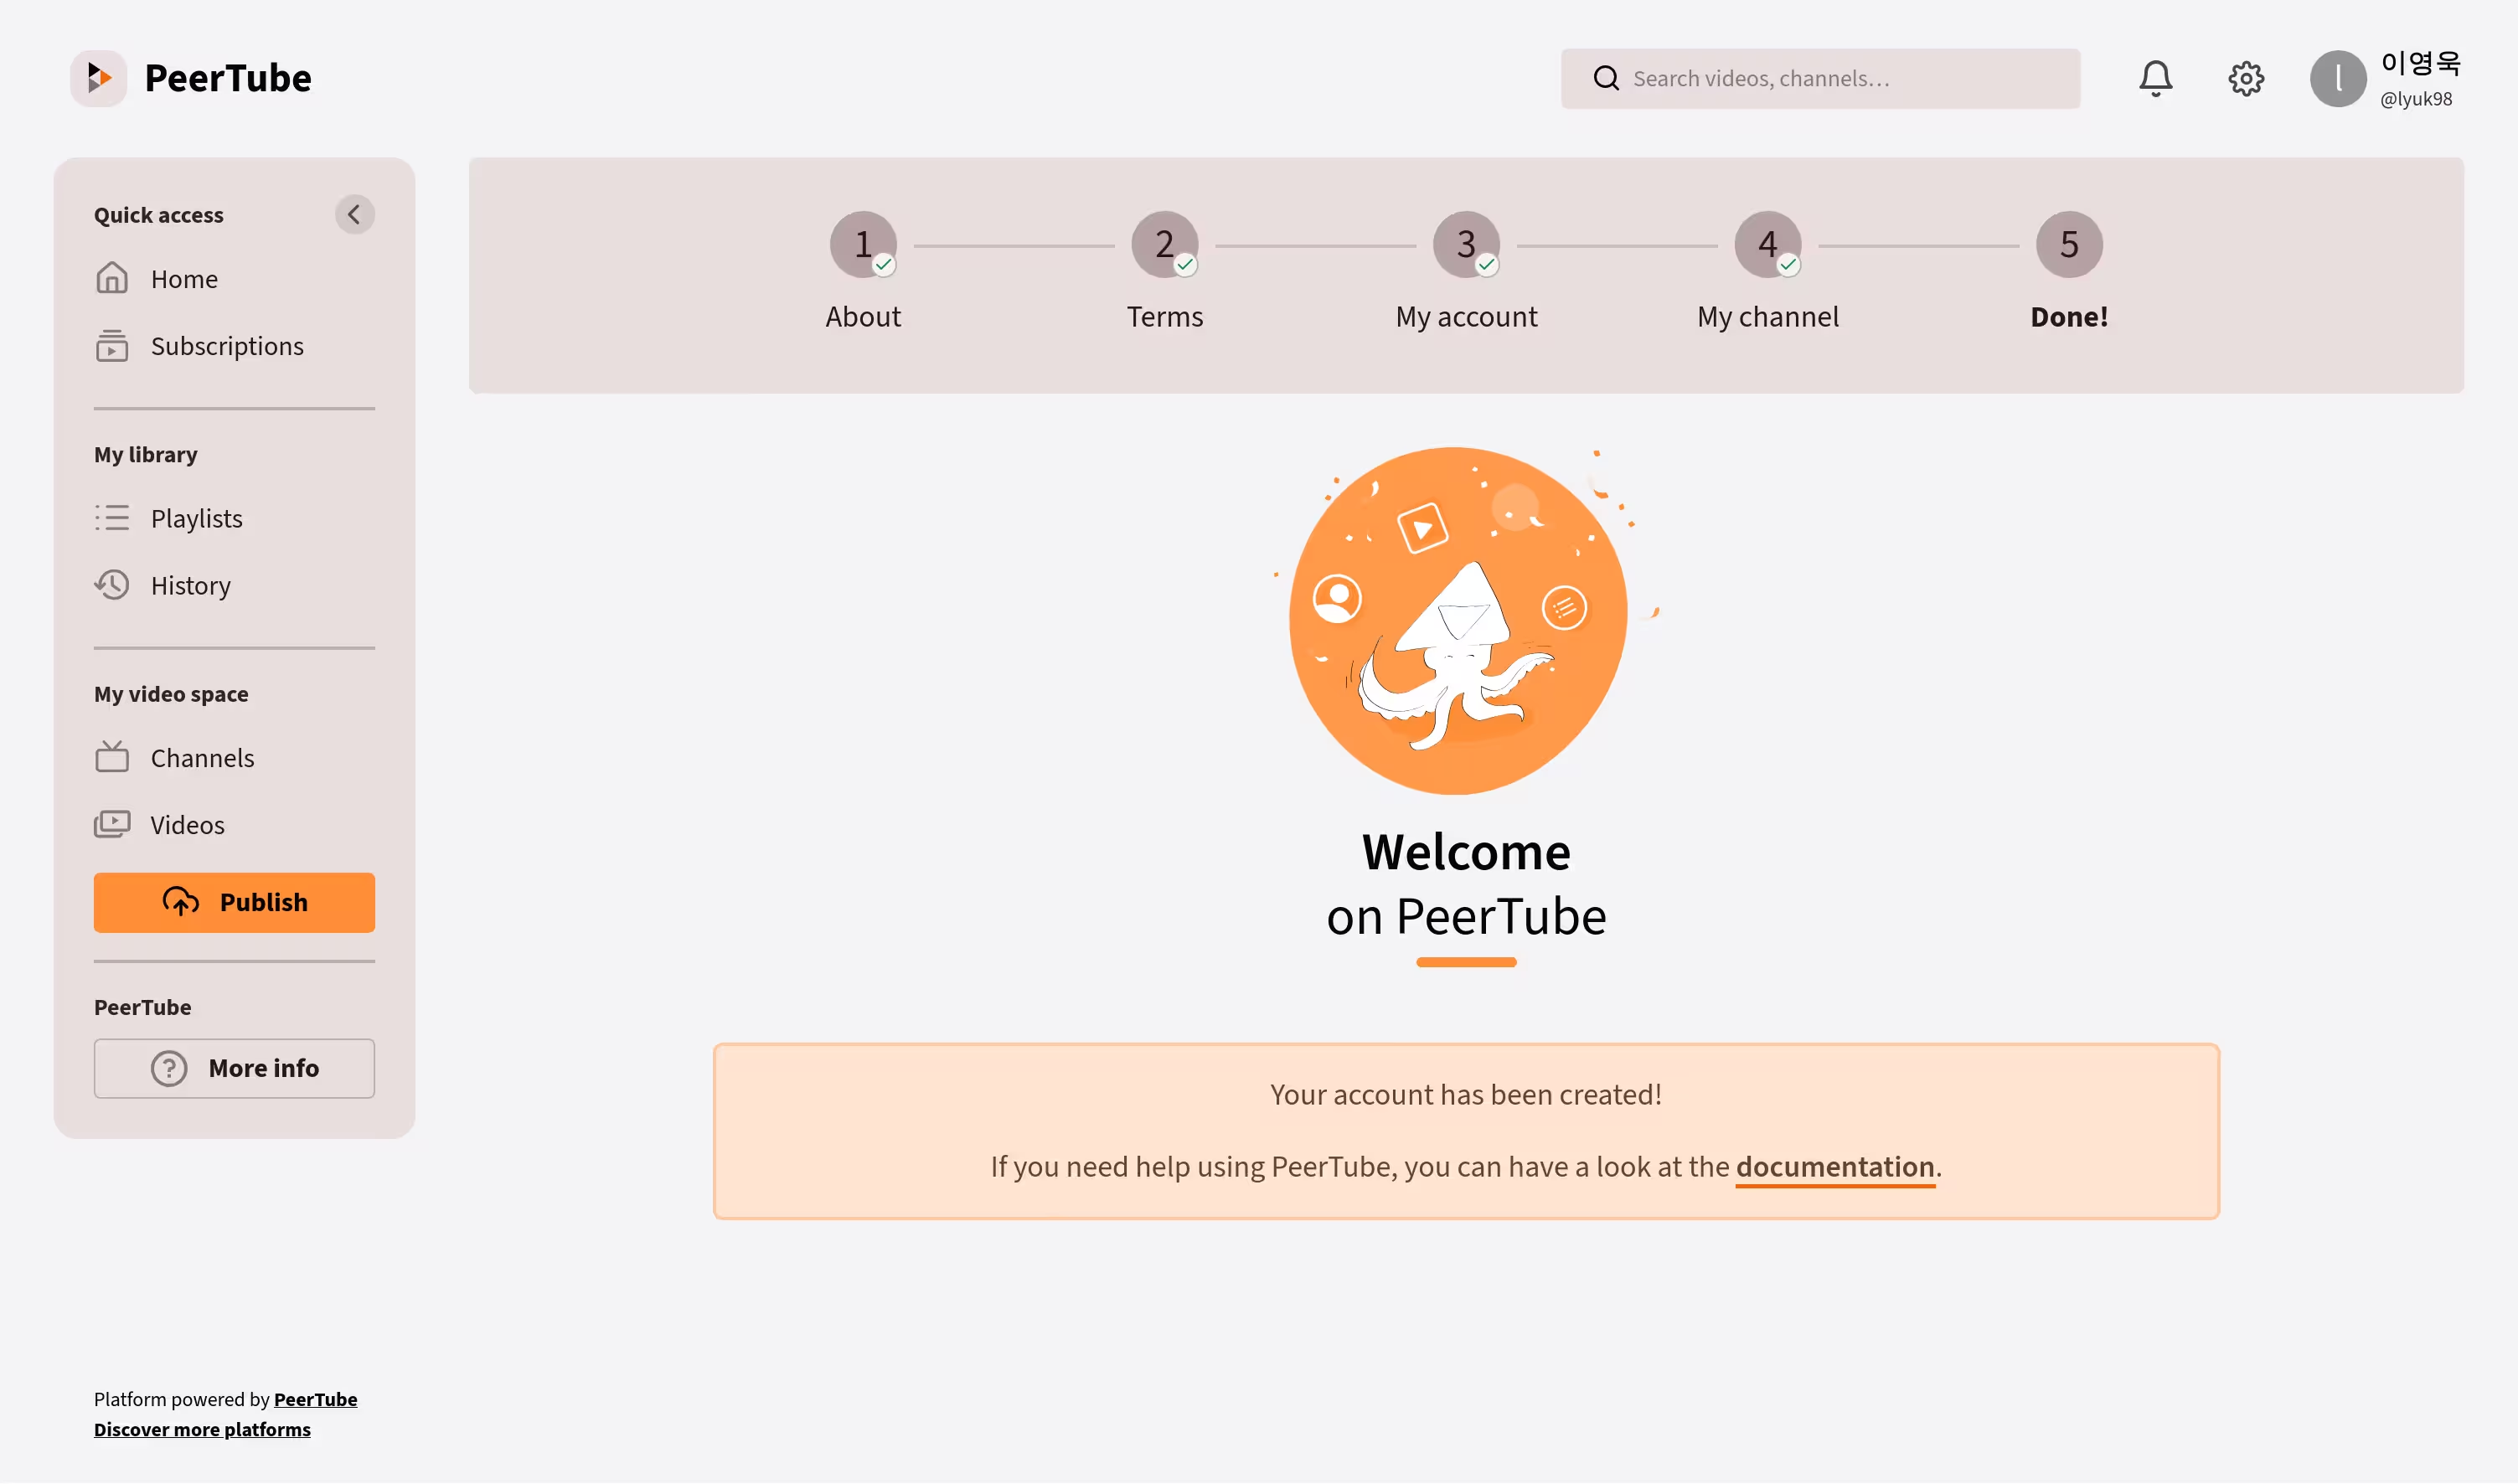
The PeerTube instance was already running without any further action, as a result of the system upgrade. Following the guide, I grabbed the root password to log in to the newly-created instance.
peertube@raspberrypi:~$ journalctl --user --pager-end --unit peertube-server.service | grep -A1 root
Mar 27 22:06:08 raspberrypi peertube-server[2900]: [peertube.tailnet.example.com:443] 2025-03-27 13:06:08.294 info: Username: root
Mar 27 22:06:08 raspberrypi peertube-server[2900]: [peertube.tailnet.example.com:443] 2025-03-27 13:06:08.295 info: User password: hogadokopeqiyose
I allowed anyone to register, since it is only accessible to those with access to my tailnet, and created a new account for my videos.
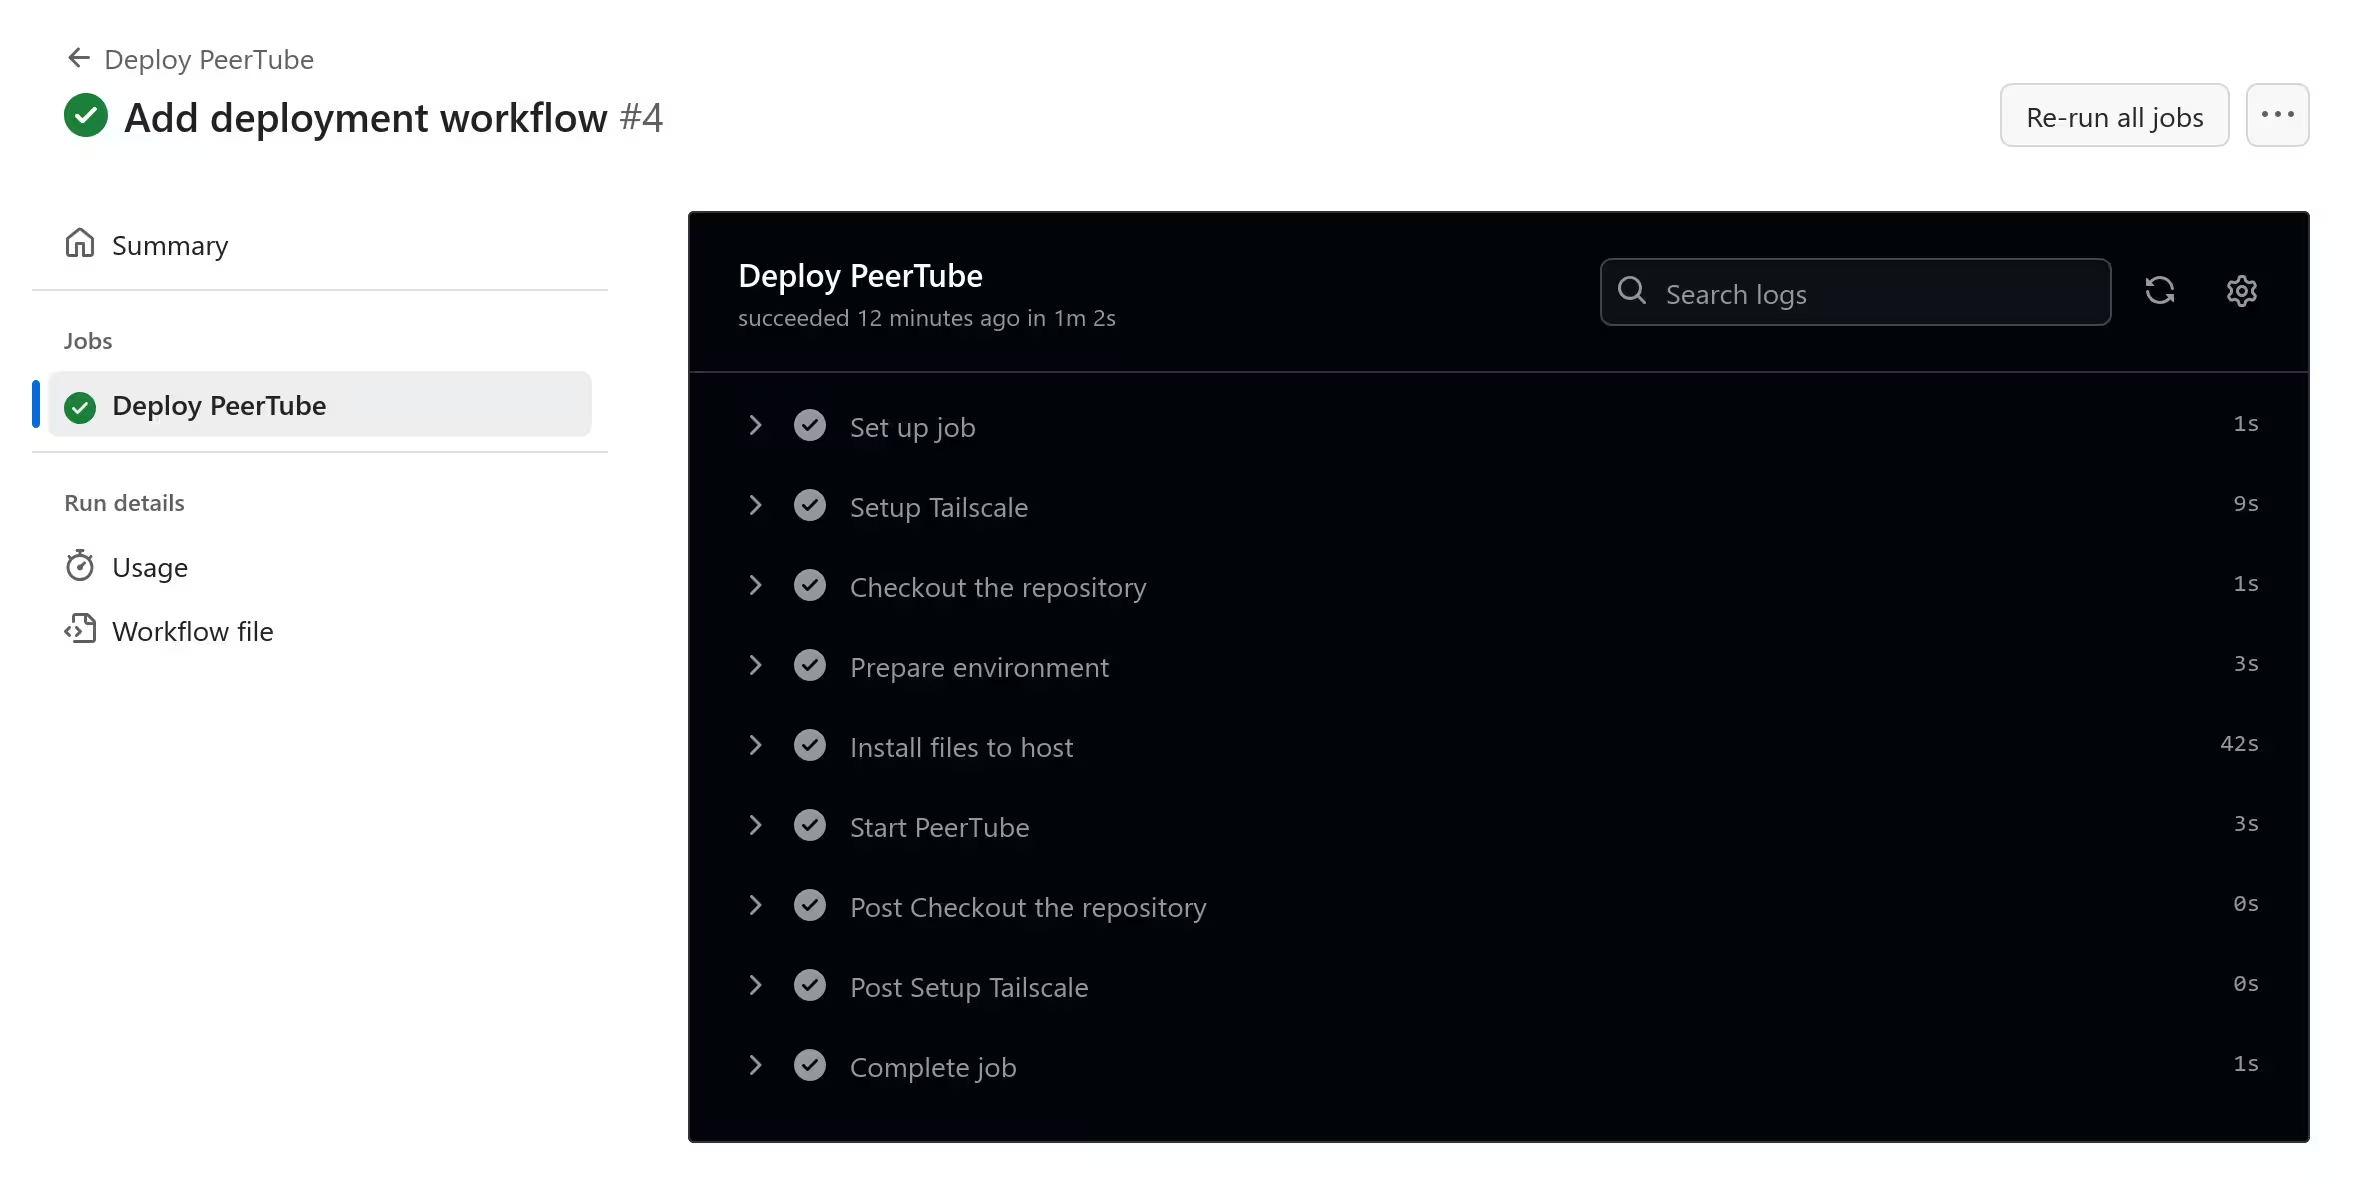
Deployment with GitHub Actions
The workflow file was added to automate the task accomplished above.
Further configurations
I noticed messages from Caddy and Redis, each complaining about low buffer size and disabled memory overcommit, respectively.
caddy@raspberrypi:~$ journalctl --user --pager-end --unit caddy.service | grep buffer
Mar 27 22:01:46 raspberrypi caddy[1979]: {"level":"info","ts":1743080506.7606997,"msg":"failed to sufficiently increase receive buffer size (was: 208 kiB, wanted: 7168 kiB, got: 416 kiB). See https://github.com/quic-go/quic-go/wiki/UDP-Buffer-Sizes for details."}
peertube@raspberrypi:~$ journalctl --user --pager-end --unit peertube-redis.service | grep overcommit
Mar 27 22:02:05 raspberrypi peertube-redis[2232]: 1:M 27 Mar 2025 13:02:05.257 # WARNING Memory overcommit must be enabled! Without it, a background save or replication may fail under low memory condition. Being disabled, it can can also cause failures without low memory condition, see https://github.com/jemalloc/jemalloc/issues/1328. To fix this issue add 'vm.overcommit_memory = 1' to /etc/sysctl.conf and then reboot or run the command 'sysctl vm.overcommit_memory=1' for this to take effect.
The necessary configurations were added in /etc/sysctl.d, followed by sysctl -p.
pi@raspberrypi:~$ sudoedit /etc/sysctl.d/net-buffer-increase.conf
pi@raspberrypi:~$ cat /etc/sysctl.d/net-buffer-increase.conf
net.core.rmem_max=2500000
net.core.wmem_max=2500000
pi@raspberrypi:~$ sudoedit /etc/sysctl.d/memory-overcommit.conf
pi@raspberrypi:~$ cat /etc/sysctl.d/memory-overcommit.conf
vm.overcommit_memory=1
pi@raspberrypi:~$ sudo sysctl -p
Finishing up
The two-week-long journey to get PeerTube running on a Raspberry Pi with Tailscale was (of course) not without problems. I realised the importance of using distributions with proper versions of packages, and it was also an opportunity to learn a few things about networking in containers.
I was glad that I could to stick to rootless containers until the end. Despite the problems, I felt the steps I have taken for this achievement brought me an important piece of knowledge in the case I ever deploy something in an unprivileged environment in the future.
Some improvements could definitely be made with this setup. I had the following in mind:
- The hardware could surely be upgraded to host this kind of service.
- More aspects of this deployment could be automated, including the operating system itself.
- Caddy could have outright replaced Nginx and become a part of the pod.
- Tailscale clients for the containers did not have to be ephemeral, since their states could be saved externally.
I may revisit this setup for improvements, but I am satisfied with it for now.